As I explained here view composer is a component which is responsible for creating linked clone pools from a specified virtual machine template. We have different types of desktop pools in horizon view and I will describe them in another post.
To use view composer, you need to create a database and a data source name (DSN) to store view composer data and then install view composer. The View Composer service does not include a database, view composer requires an SQL database to store data.
Add a View Composer Database to SQL Server
- On the SQL server, select Start > All Programs > Microsoft SQL Server 2012, SQL Server Management Studio and connect to the SQL Server instance.
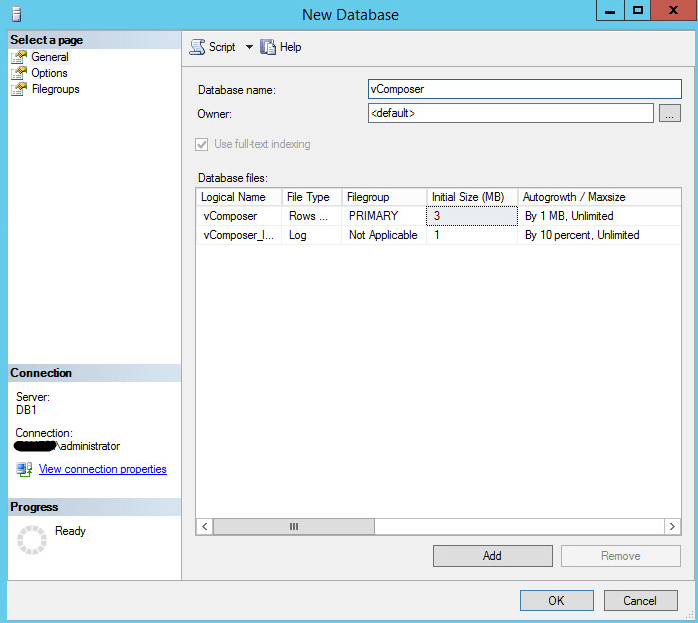
- In the Object Explorer pane, right-click the Databases entry and select New Database.
- In the New Database dialog box, type a name in the Database name text box and then click on OK.
- Create a new user who has access to this database, so right-click on Logins entry from the security section and select New Login.
- In General page, enter a username and password.

- Select db_owner for view composer database and then click OK, now this user has full access to view composer database.

Configure an ODBC connection
After you create a view composer database, you need to configure an ODBC connection to the new database to make this data source visible to the view composer service.
- On the computer which view composer will be installed, select Start > Administrative Tools >Data Source (ODBC).
- Select the System DSN tab and Click Add and select the SQL Native Client from the list, Click Finish.

- Type a name and description for view composer database. In the server text box, type the SQL server name and then click Next.

- Select SQL Server authentication and enter the vcomposer user credential which we created above.
- Select the “Change the default database to” checkbox and select the view composer database from the list.

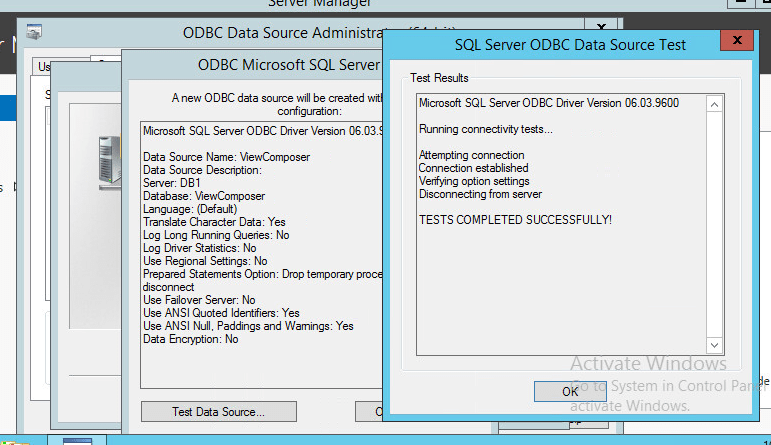
- Accept default settings and click next. On the last page finish and close the Microsoft ODBC Data Source Administrator wizard and check connectivity test. You successfully connect to your database and now it is time to install view composer service.
Install View Composer
- Right-click the installer file and select Run as administrator.
- Accept the VMware license terms.
- Accept or change the destination folder.
- Type the DSN for the View Composer database that we provided in the ODBC Data Source Administrator wizard. Type user name and password that you provided in the ODBC Data Source Administrator wizard.

- Accept the default port number and leave SSL certificate as default, click on next.
- Click Install and wait to complete the view composer service installation, it will ask you to reboot your system.
Now you installed view composer.