Zerto Virtual Replication – Failover
In this post, we will go through the failover test of a virtual machine. If you missed the old post of this series or would like to access the next part of this configuration, please check the following links.
- Zerto Virtual Replication – Installation
- Zerto Virtual Replication – Configuration
- Zerto Virtual Replication – Failover
- Zerto Virtual Replication – Reporting
Failover
There are two types of Failover available through Zerto: Test Failover and Live failover. Test failover is for test configuration and verifies virtual machine status after a simulated disaster situation. Live Failover is for a real disaster recovery situation, and should only be used when the original VM is offline or unavailable.
Log into the Zerto manager and the from Dashboard, click on the Test.
A wizard will be open and guide you through the failover process, select the proper VPG, and then click on Next.
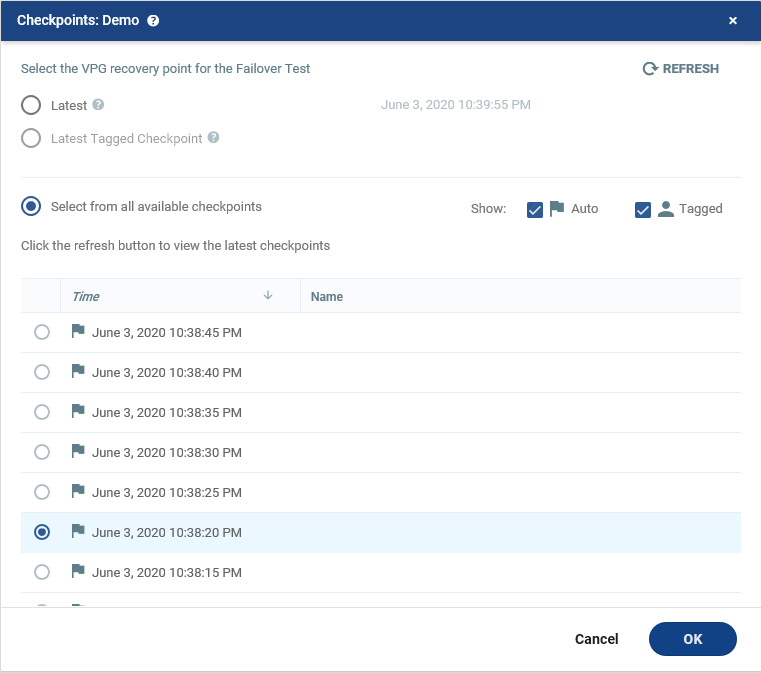
Select the desired checkpoint for each VPG by clicking on data under the Checkpoint column.
Change the point in time checkpoint to the desired restore point, select it and then click on Next.
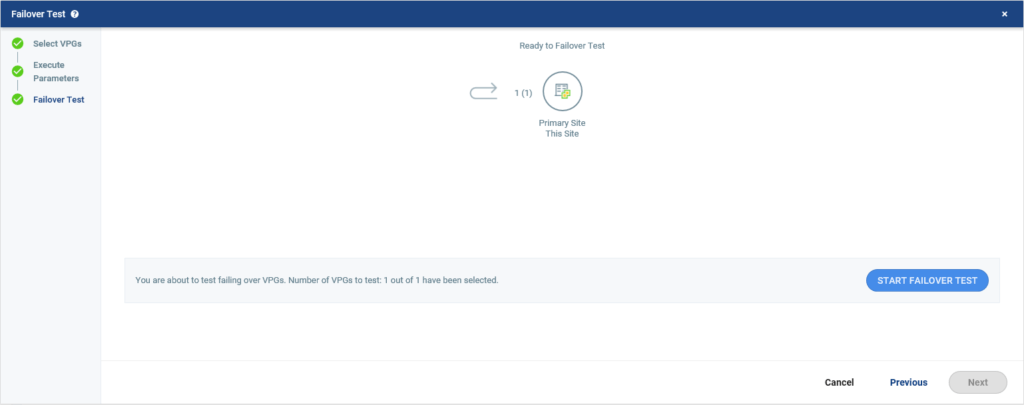
Select Start Failover Test to run the simulation.

The failover test creates a virtual machine and adds “testing recovery” to the end of its name in the target site.

Once the Failover Test is “waiting for input” in Zerto, the VM is ready for testing. Make sure the virtual machine network and operating system work and pass the requirement and conditions. To stop the failover test, stop the button on the running task, and then a popup asks you to record whether or not the test was successful.
In the next post, we will go through how to take a report from Zerto.


