After installing and configuring the Zerto Virtual Replication in the previous posts, now it is time to secure the Zerto portal in order to get rid of the red warning in the browser about the default self-signed certificate. In our environment, we utilize our internal CA (Active Directory Certificate Services or Windows PKI) in order to issue replacement certificates.

Create a new file with the name zerto.cfg with the following contents and update the red items to reflect your organization and server details.
[ req ]
default_bits = 2048
default_keyfile = zerto.key
distinguished_name = req_distinguished_name
encrypt_key = no
prompt = no
string_mask = nombstr
req_extensions = v3_req

[ v3_req ]
basicConstraints = CA:FALSE
keyUsage = digitalSignature, keyEncipherment, dataEncipherment
extendedKeyUsage = serverAuth, clientAuth
subjectAltName = DNS:ServerName, IP:IPAddress, DNS:ServerFQDN

[ req_distinguished_name ]
countryName = Country
stateOrProvinceName = Province
localityName = City
0.organizationName = Oraganization
organizationalUnitName = Unit
commonName = ServerFQDN
Then download and install OpenSSL on your computer.
https://www.openssl.org/source/
Copy zerto.cfg to the directory of OpenSSL, for example, “C:\Program Files\OpenSSL-Win64\bin”, and then open the command prompt and navigate to the above directory and run the following command to create the CSR and generate a private encryption key.
openssl.exe req -new -nodes -out zerto.csr -keyout zerto.key -config zerto.cfg
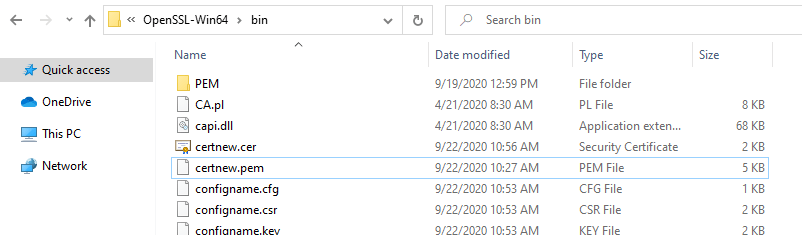
Now you will have 2 new files in that directory “C:\Program Files\OpenSSL-Win64\bin”, at this time we need the .CSR file.
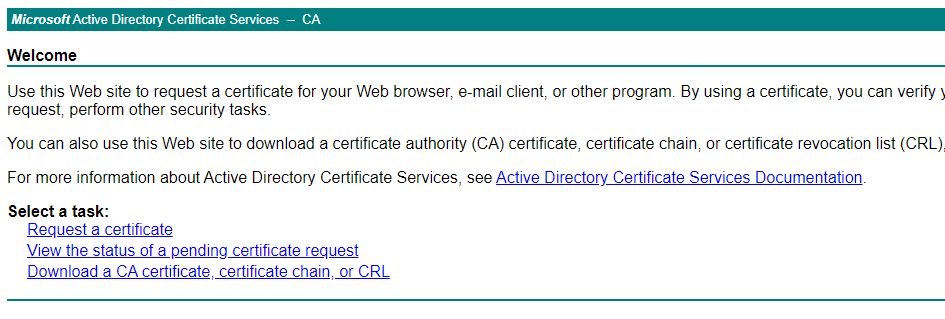
Log in to the Microsoft CA web portal “http://servername or IP address/CertSrv/ ” and then click Request a certificate.
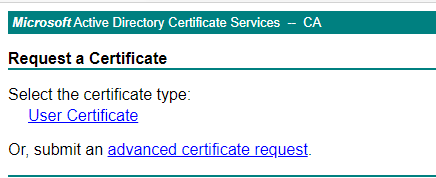
Choose Advanced Certificate Request
Paste the content of CSR file into the request box and choose the Web Server Certificate Template.
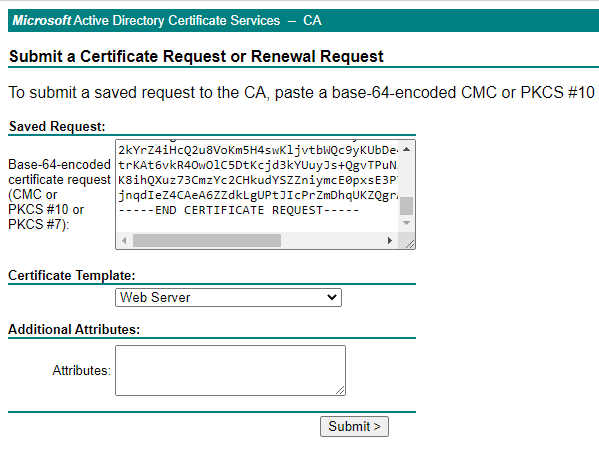
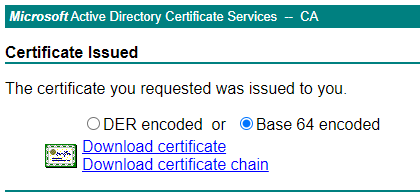
Click on submit and then download the certificate in the Base 64 encoded format.
Move the certificate to the bin folder of the OpenSSL directory.
Now that we’ve CER file with the private key that was generated in the first command, we have to export this to a PFX file so that it can be used by the ZVM. This can be done via command below:
openssl pkcs12 -export -inkey zerto.key -in zerto.cer -out zerto.pfx -password pass:Password
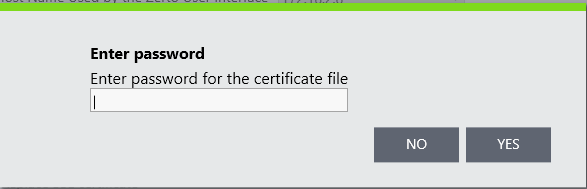
Remember your password, you need it when you import new certificate in Zerto.
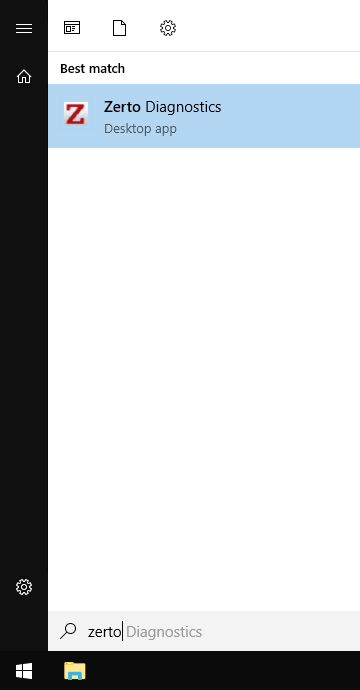
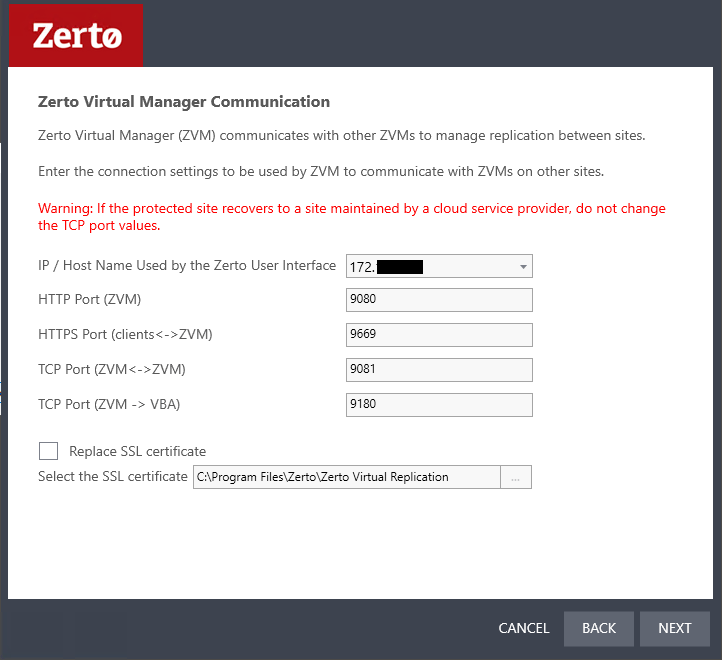
Copy the newly created PFX file to the Zerto virtual machine if it is a virtual machine or physical server, and open the Zerto Diagnostics utility on the ZVM (Zerto Virtual Machine ).
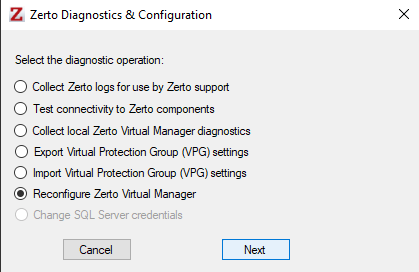
Choose “Reconfigure Zerto Virtual Manager” then click on Next.
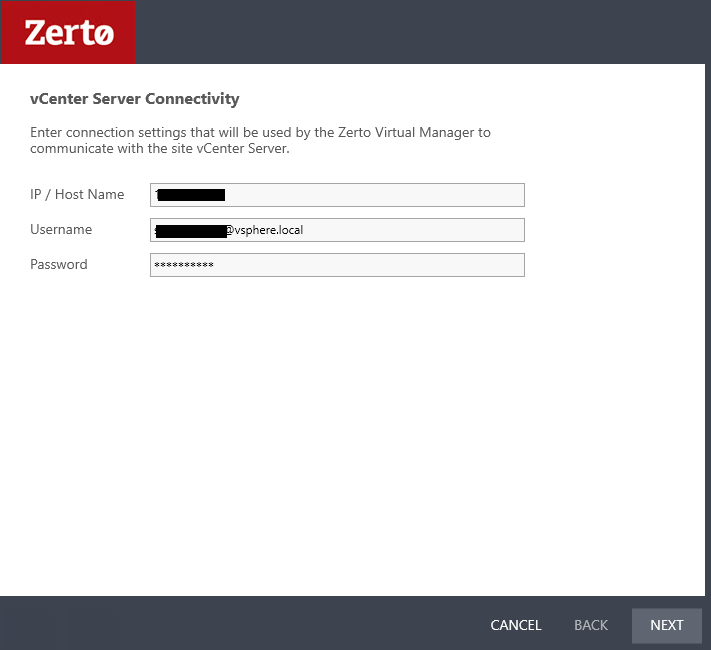
Ensure the vCenter configuration is correct, and click “Next.”
Check “Replace SSL Certificate” under the “HTTP Certificate” section and select the new SSL certificate.
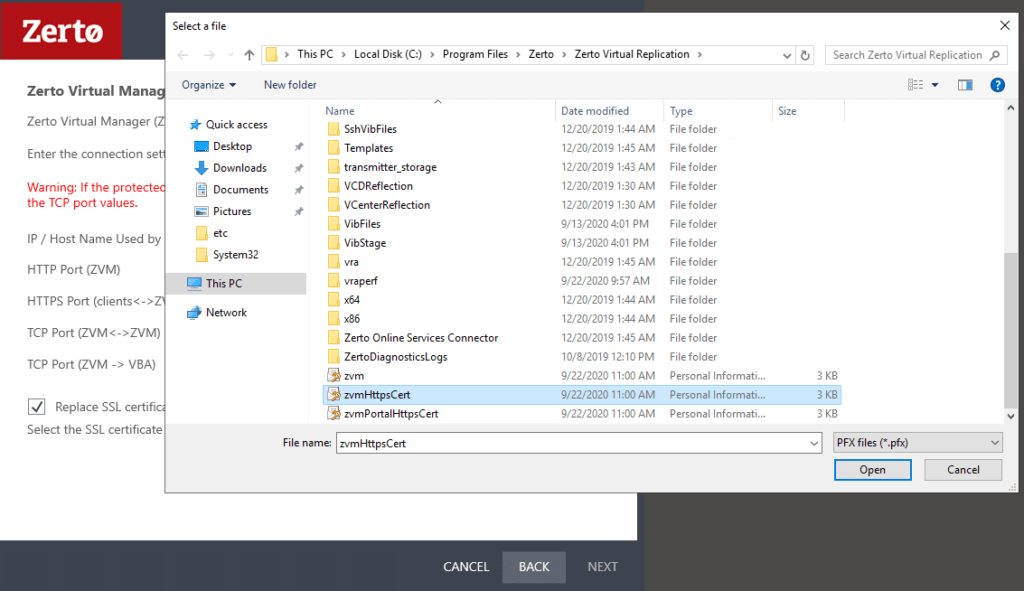
Choose your new certificate and click open.
Enter the password for this certificate and click yes and then next.
The configuration will be verifed and the if every things goes right, choose next to reconfgiure ZVM. after that you can securly connect to your Zerto management.

hope you find this informative, if you have any questions or comments please let me know.