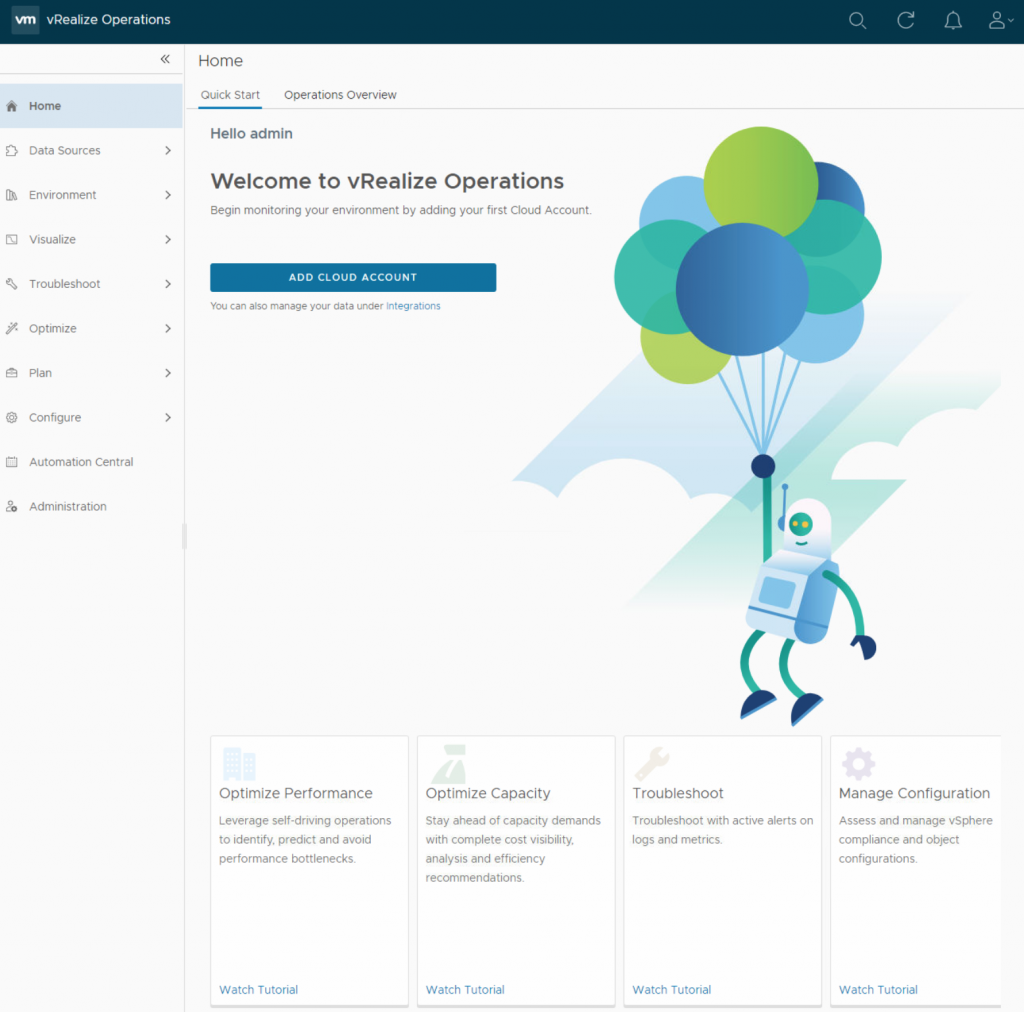
In this post, I will go through the deployment and initial configurations of vRealize Operations or vRops. Installing and configuring VMware vRealize Operations involves two main steps that include deploying the vRealize Operations Manager appliance and then Configuring it to access the Web UI using a web browser and work with it. Then you can access dashboards, views, alerts, and reports of your environment.
1- Download the vRealize Operations Manager Appliance version 8.10 (OVA file) from VMware.
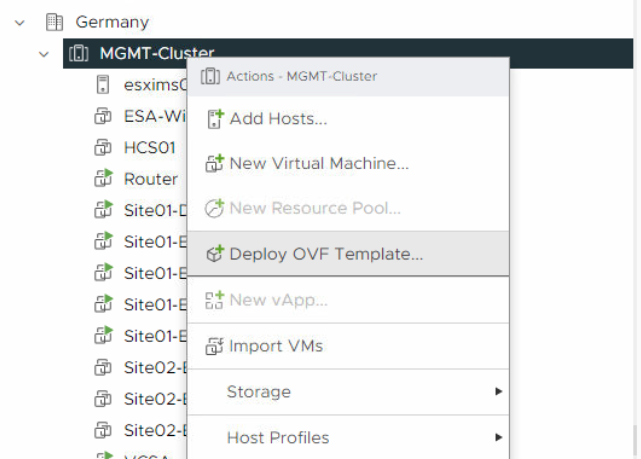
2-Log into your vCenter Server using an account with administrative privileges, and right-click on your cluster or host and, select Deploy OVF Template.
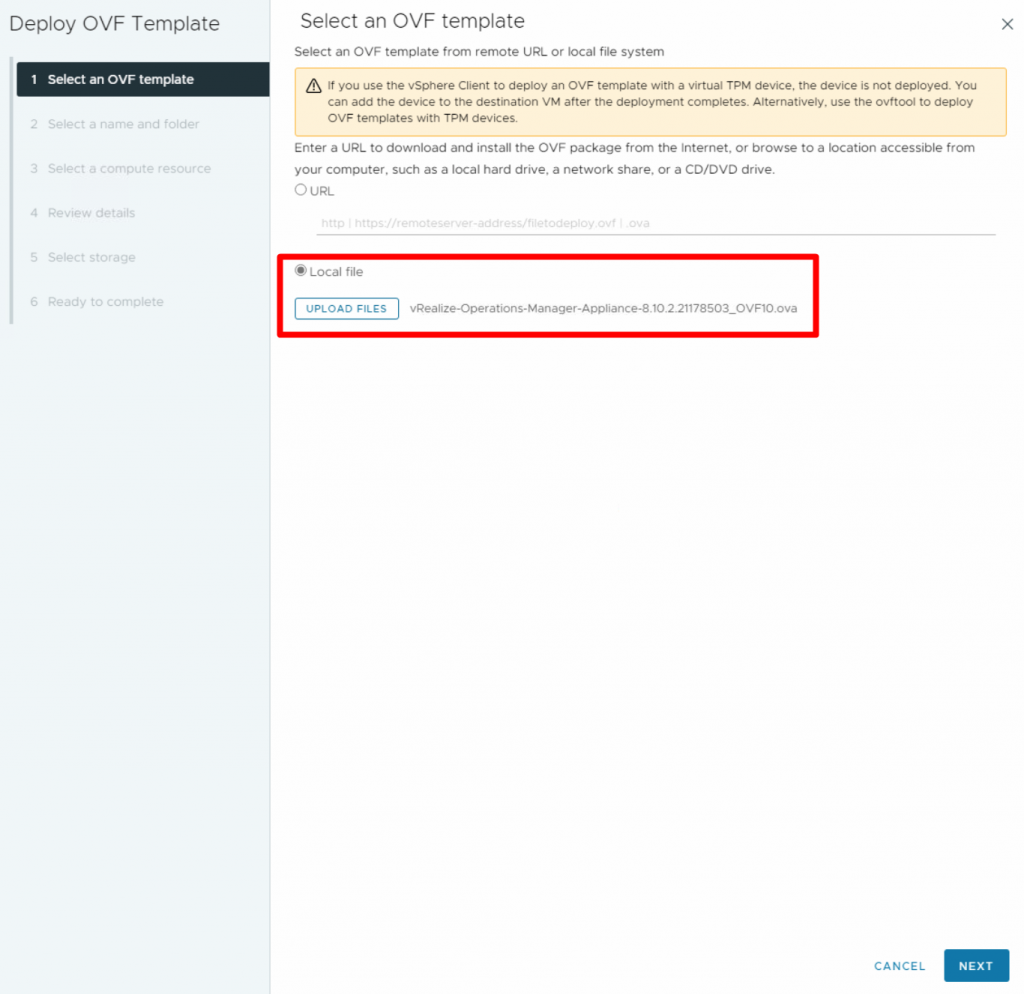
3- Click Browse to locate and select the vRealize Operations Manager Appliance OVA file you downloaded in step 1 and click Next.
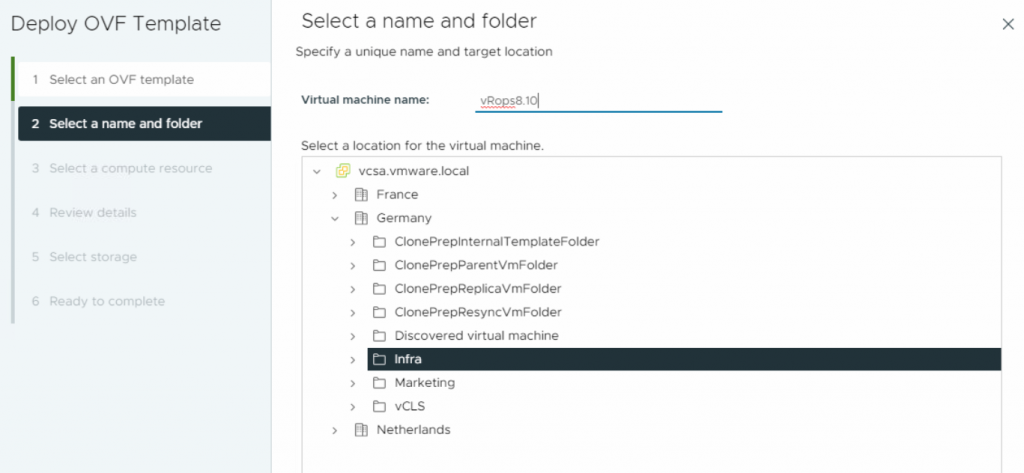
4- Enter a name for the virtual machine and select a folder for it, and click Next.
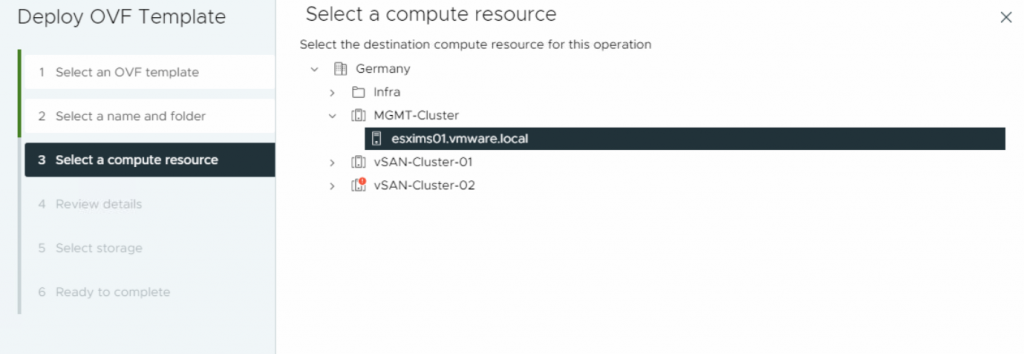
5- Select a location where you want to deploy the virtual machine and click Next.
6- Review the details of the OVF template, and click Next.

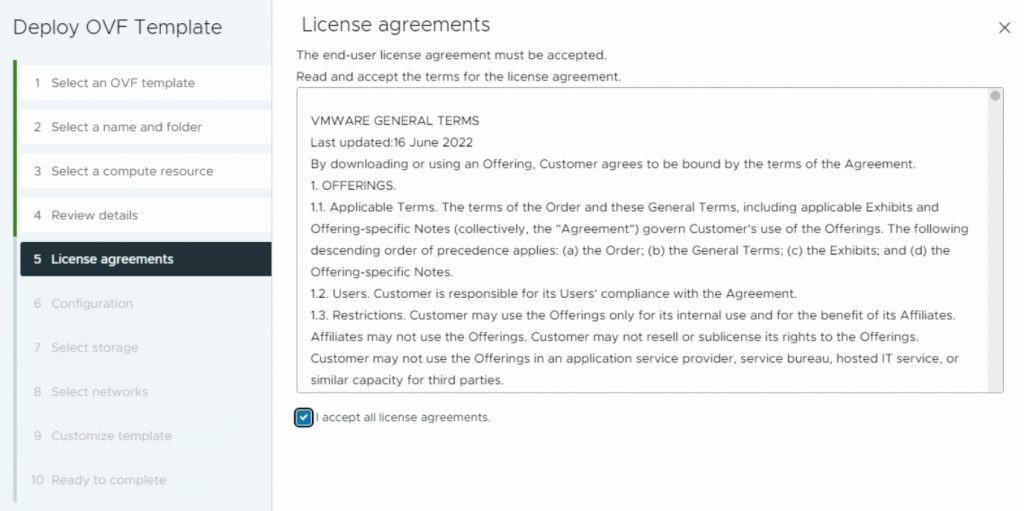
7- Accept the license agreement and click Next.
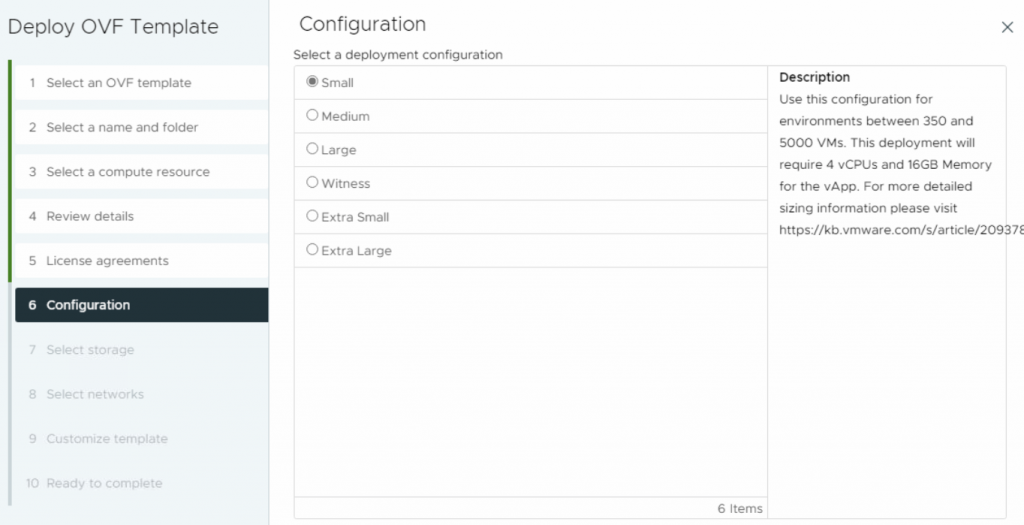
8- Based on the size of your environment, select a deployment configuration, and click Next.
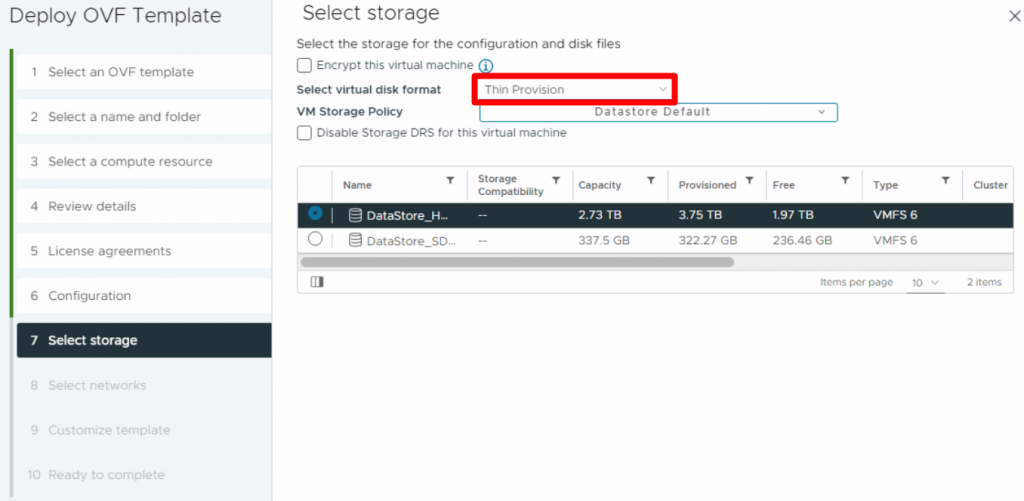
9 – Select the disk format and a datastore you want to use for the virtual machine and then click Next.
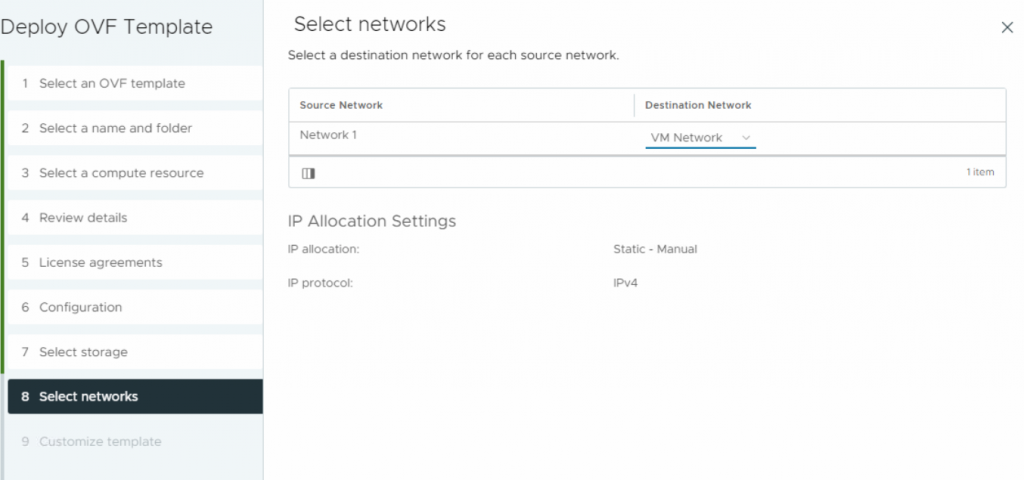
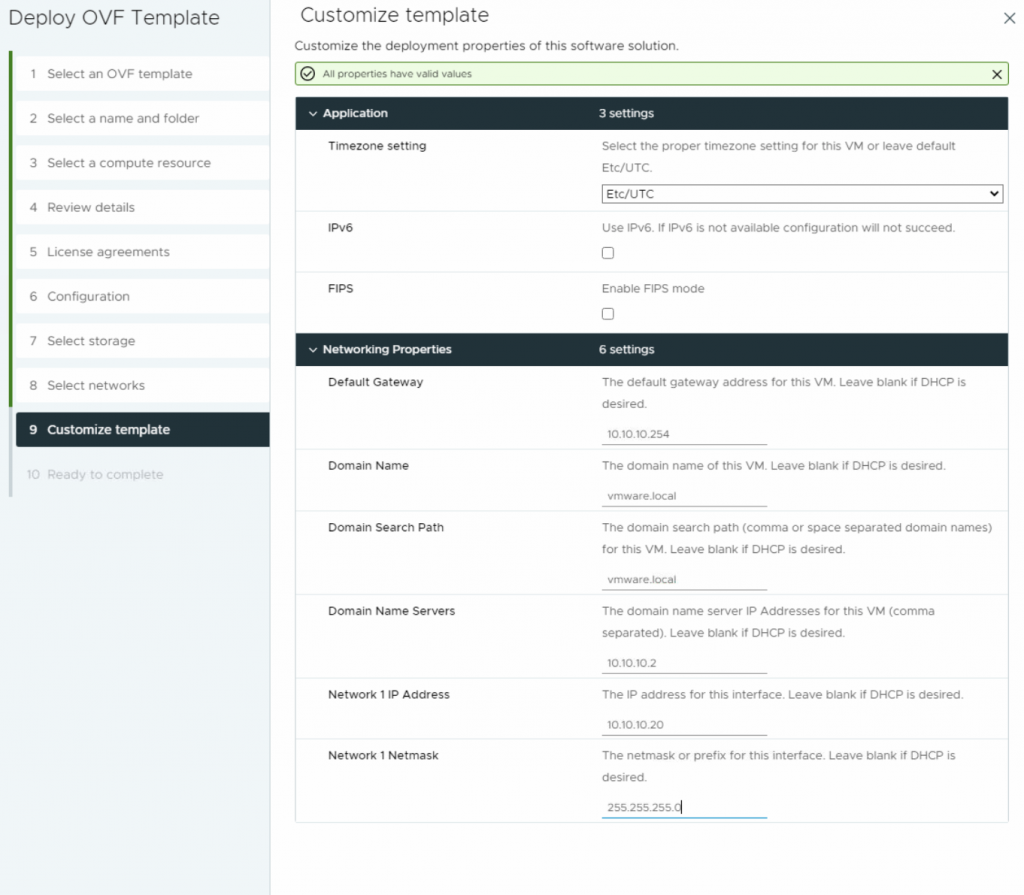
10- Select the network configuration for the virtual machine and click Next.
11- Configure the IP address and network settings and then click Next.
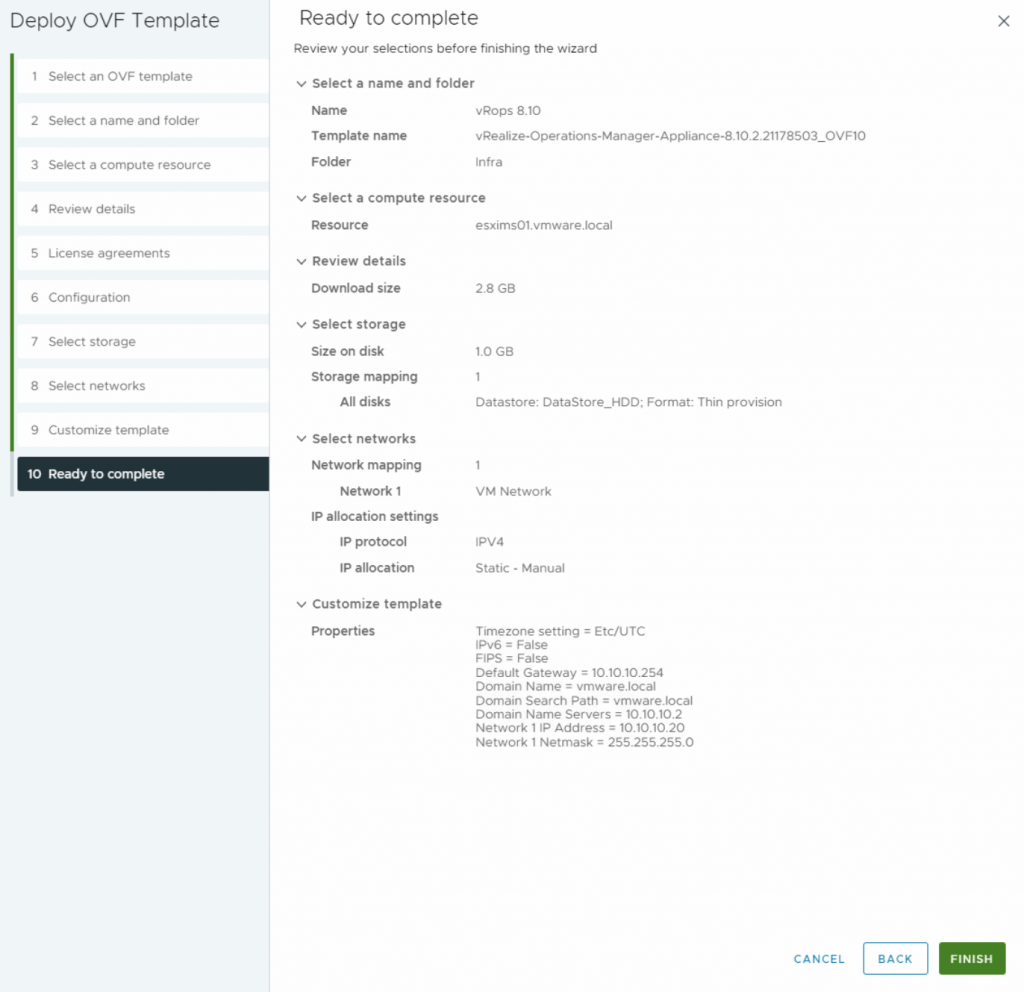
12- Review the details and if everything looks correct, click Finish to start the deployment process.
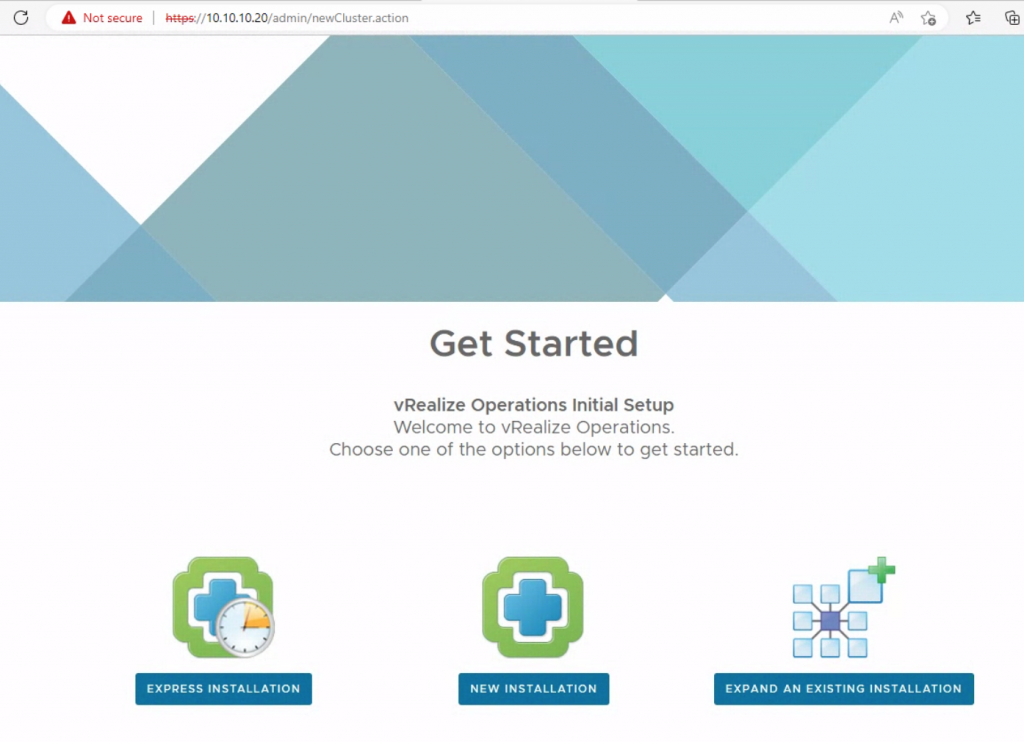
13- Wait for the deployment process to complete. Once the provisioning process is complete, power on the virtual machine. Then open a web browser and enter the IP address of the vRealize Operations Manager Appliance, it automatically redirects you to the setup wizard page, and select New Installation.
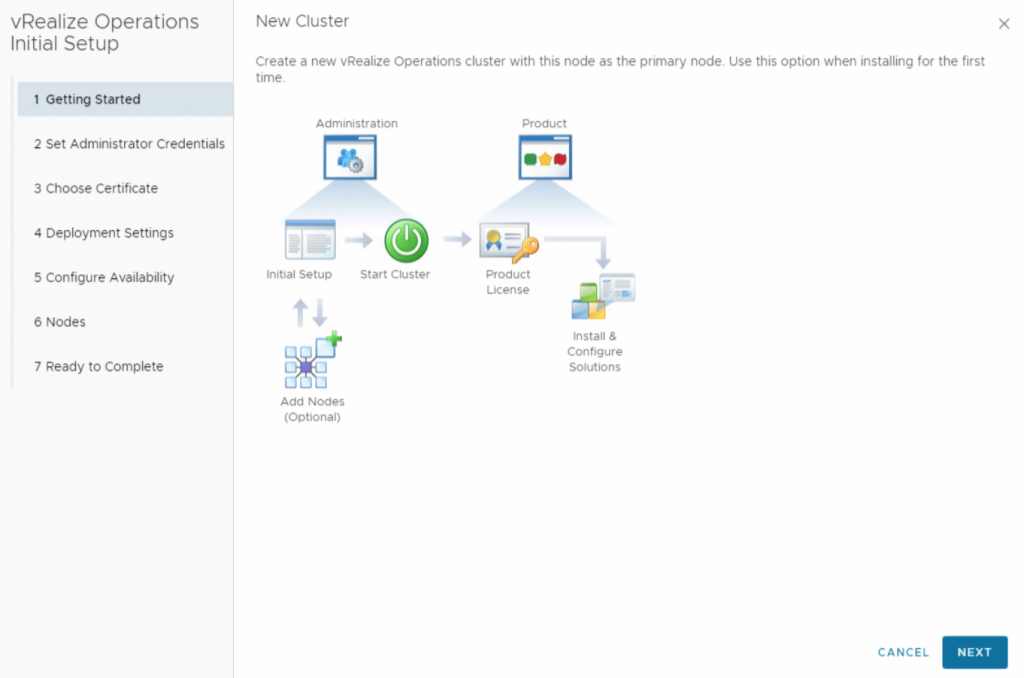
14- On the Getting Started page, click Next.
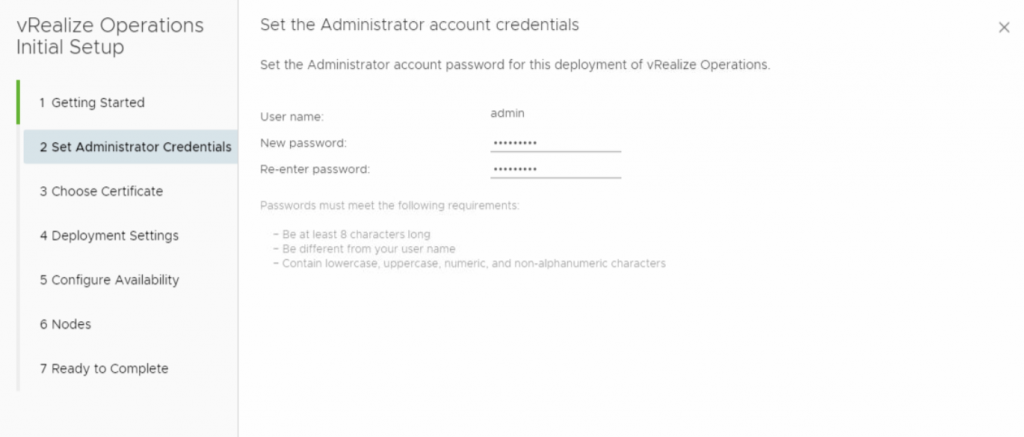
15- Enter a password for the “admin” user. Username is not changeable.
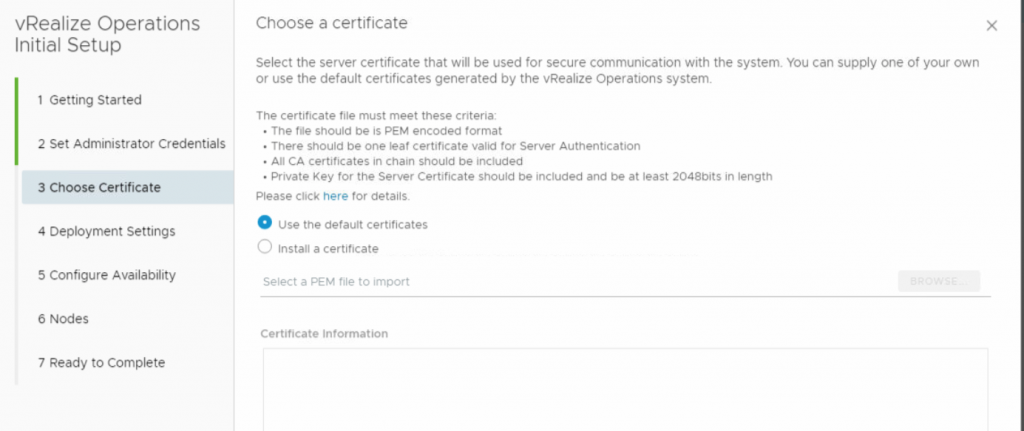
16- Select a certificate or use the default certificate and click Next. I will replace the default certificate later, so I am using the default certificates.
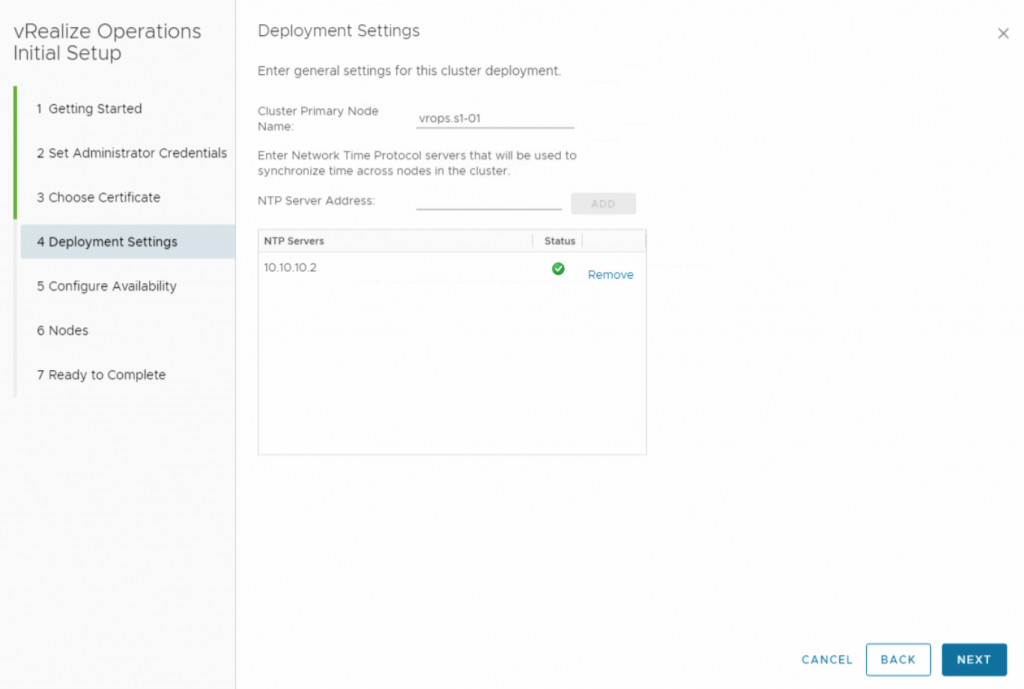
17- Enter a name for the primary node and enter the URL or IP address of the NTP server and click Next.
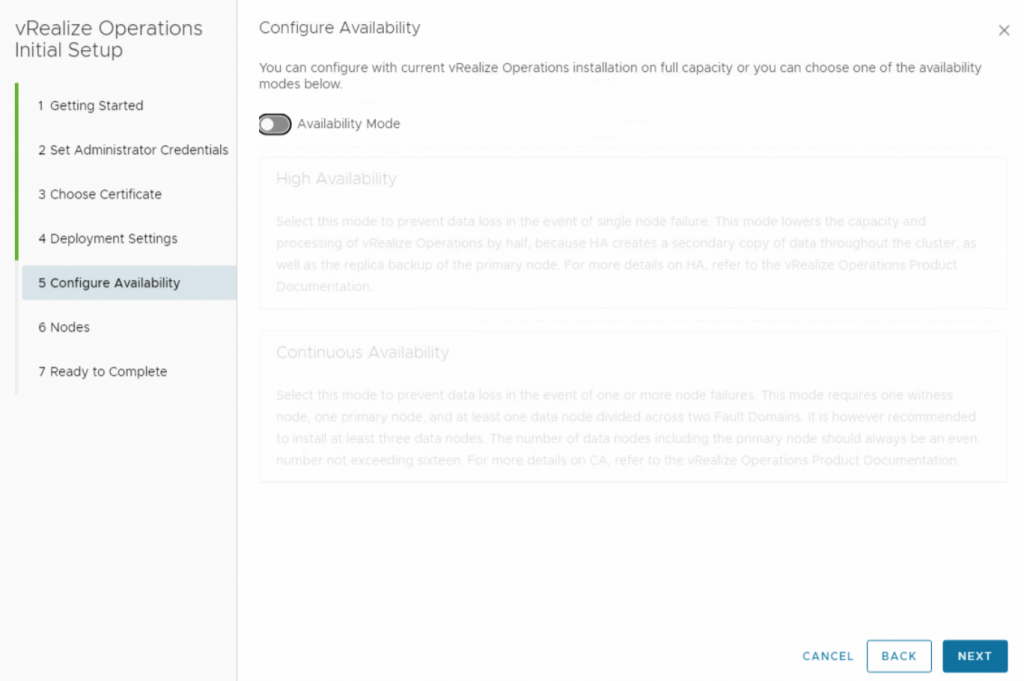
18- Enable availability mode if you want to deploy vRops with availability to prevent data loss. I installed a standalone node and will activate it later.
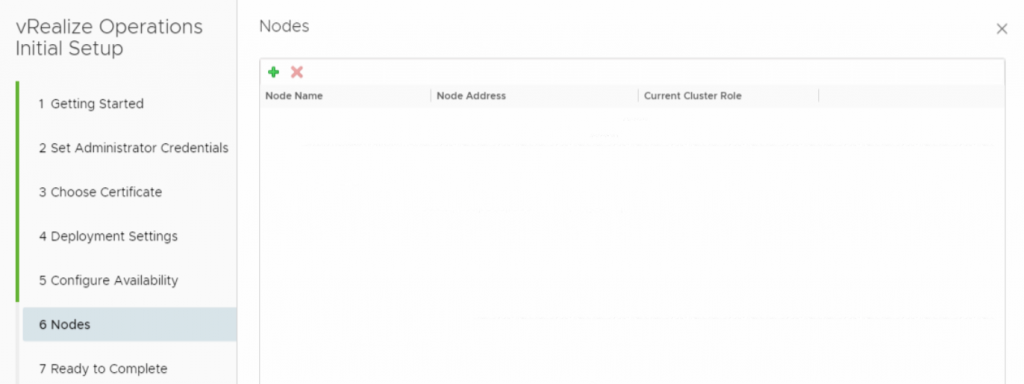
19- Now you can add more nodes to the cluster, but this is an optional step and I skip it. But depending on step 18 you will need some nodes for replicas or witness which I will discuss in another post.
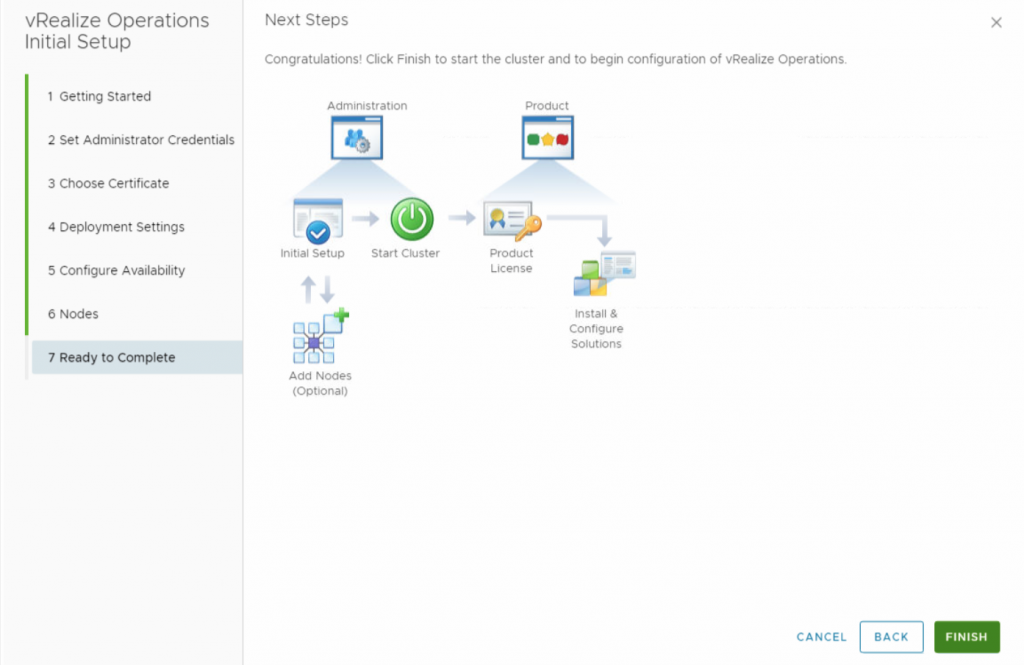
20- Ready to Complete page indicates after the initial setup we should start the cluster and perform the license and solution configuration, So click Finish to apply the initial configuration.
21- You will be redirected to the vRealize Operations Administrations page, click Start vRealize Operations Manager to start the single-node cluster.
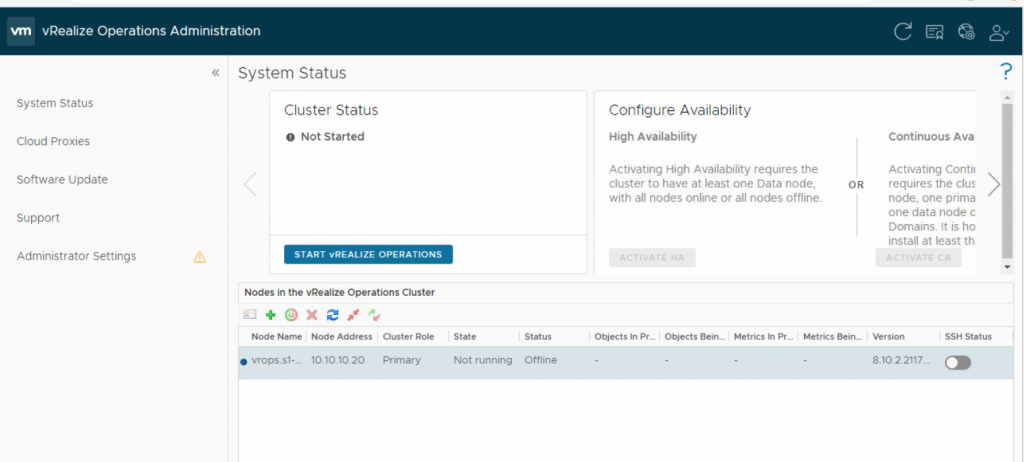
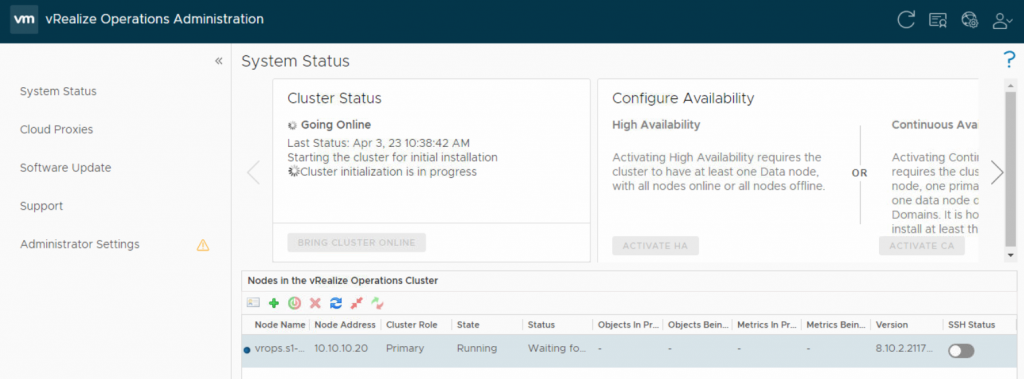
The cluster might take from 10 to 30 minutes to start.
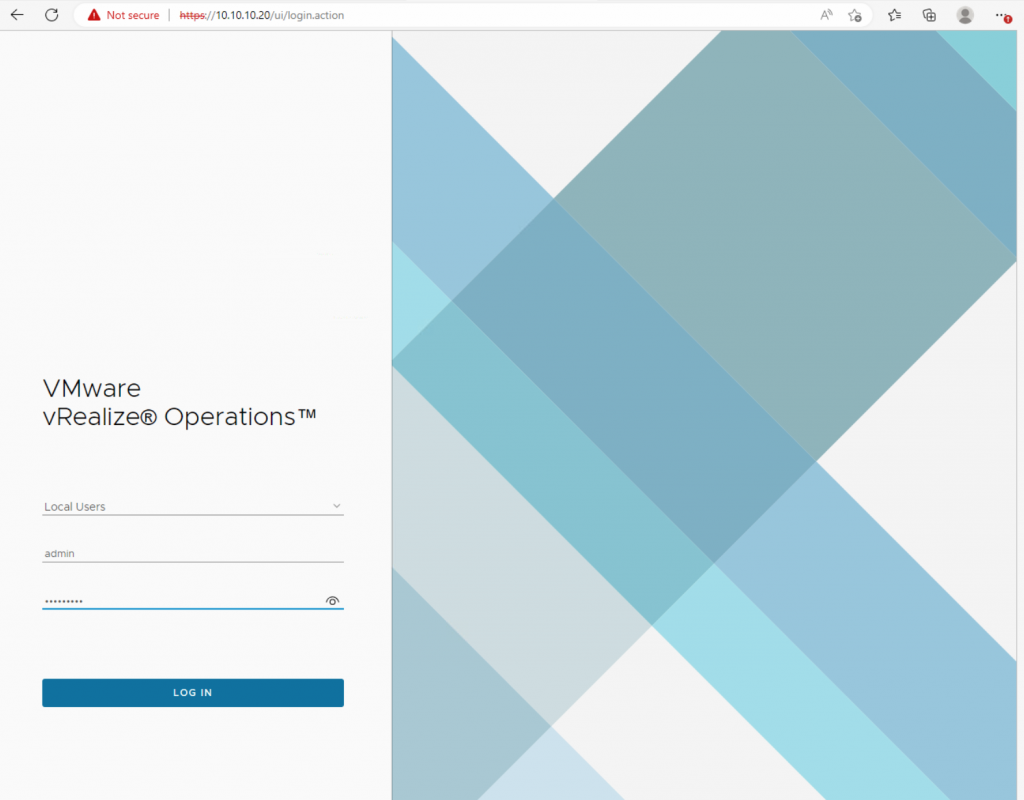
22- Once the configuration process is complete, You will be redirected to the vRealize Operations Manager Web UI and log in using the admin user and password you created during the configuration process.
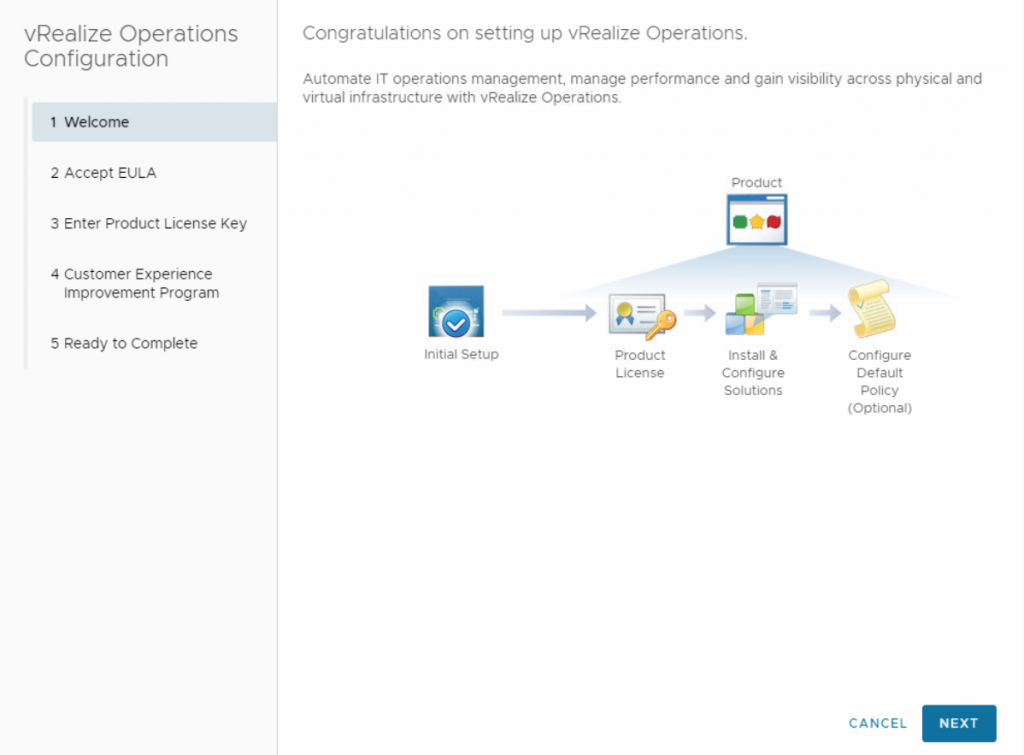
23- The Welcome page appears and indicates that there are two more steps to configure (License and Solution). The Policy is optional, click Next to proceed.
24- Accept the End User License Agreement and click Next.

25- Enter your license key or select Product Evaluation to use the trial license and click Next.

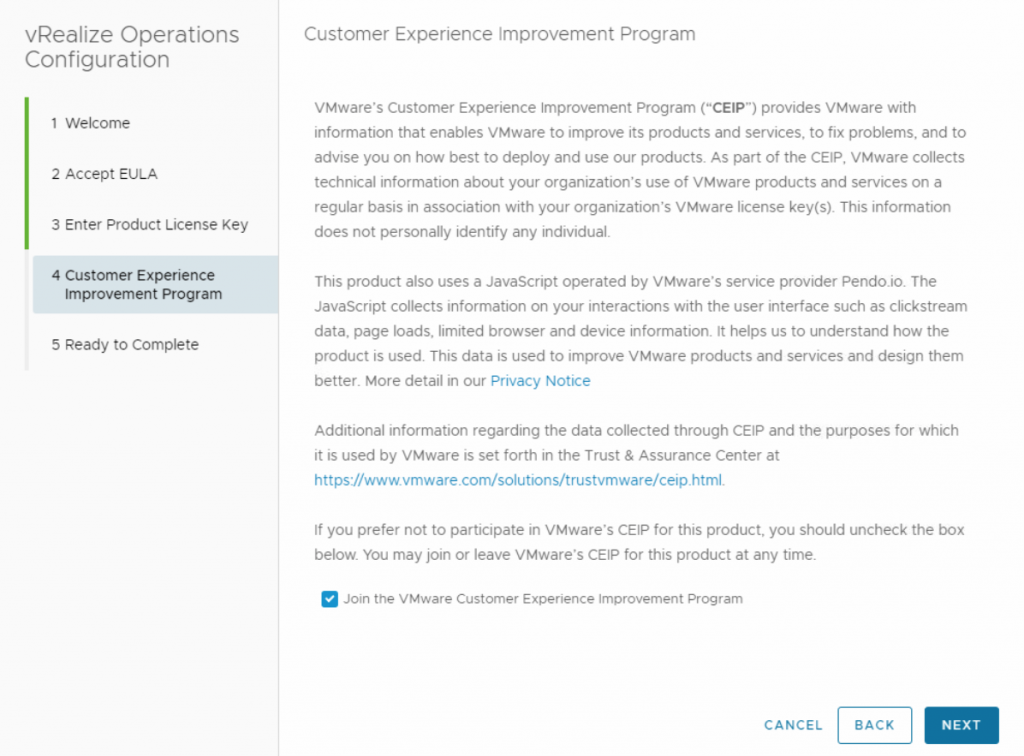
26- Either join the customer experience improvement program or skip it and select Next.
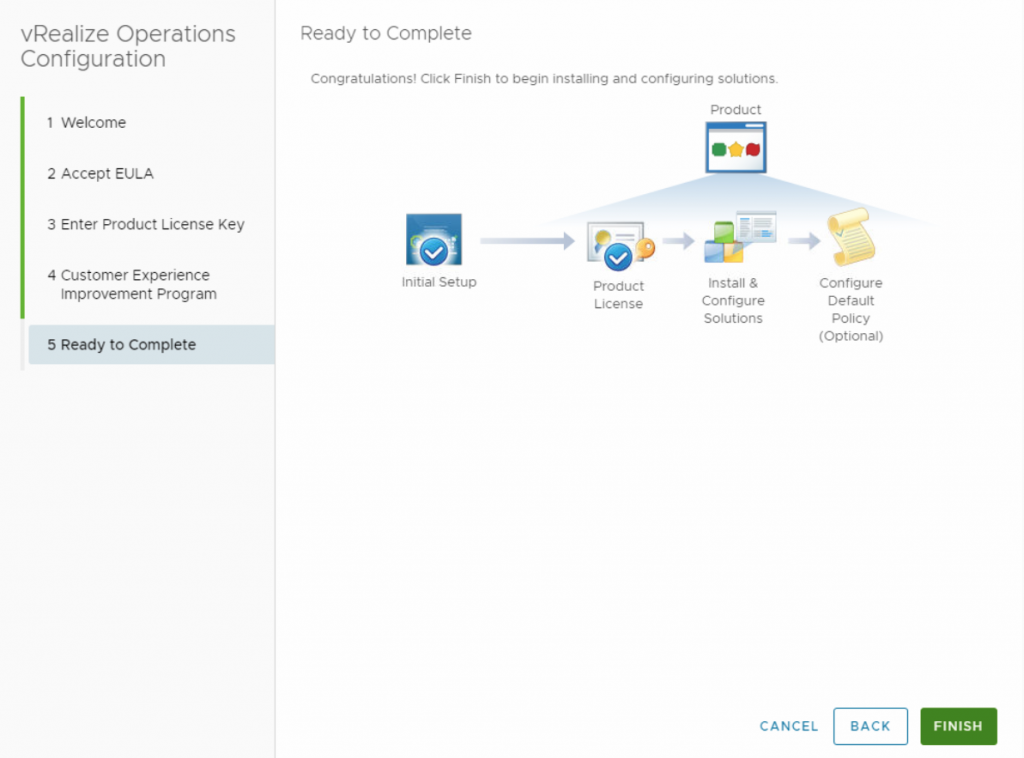
27- Click Finish to apply license configuration.
You have successfully configured the vRealize Operations. You can now start monitoring and managing your virtual environment. Now I want to add my vCenter to vRops.
28- Click on Add Cloud Account on the above page or from the left menu, click Data Sources, Integration, and then Accounts then click Add Accounts.
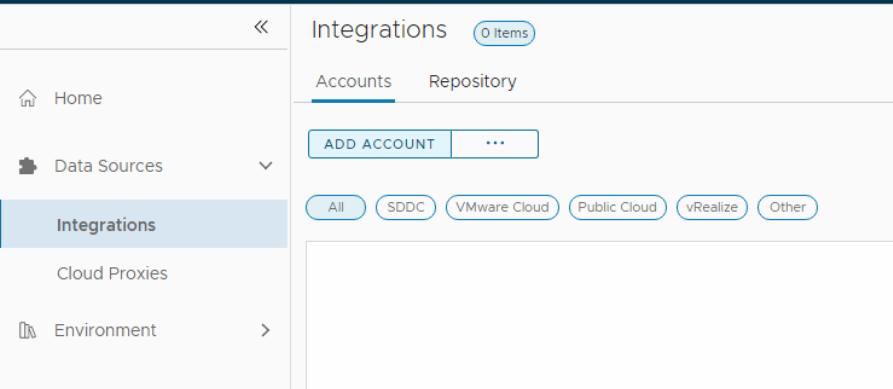
29- Select the solution, which in this case is vCenter.

30- Enter a name for vCenter and enter the FQDN of the vCenter server you want to monitor.
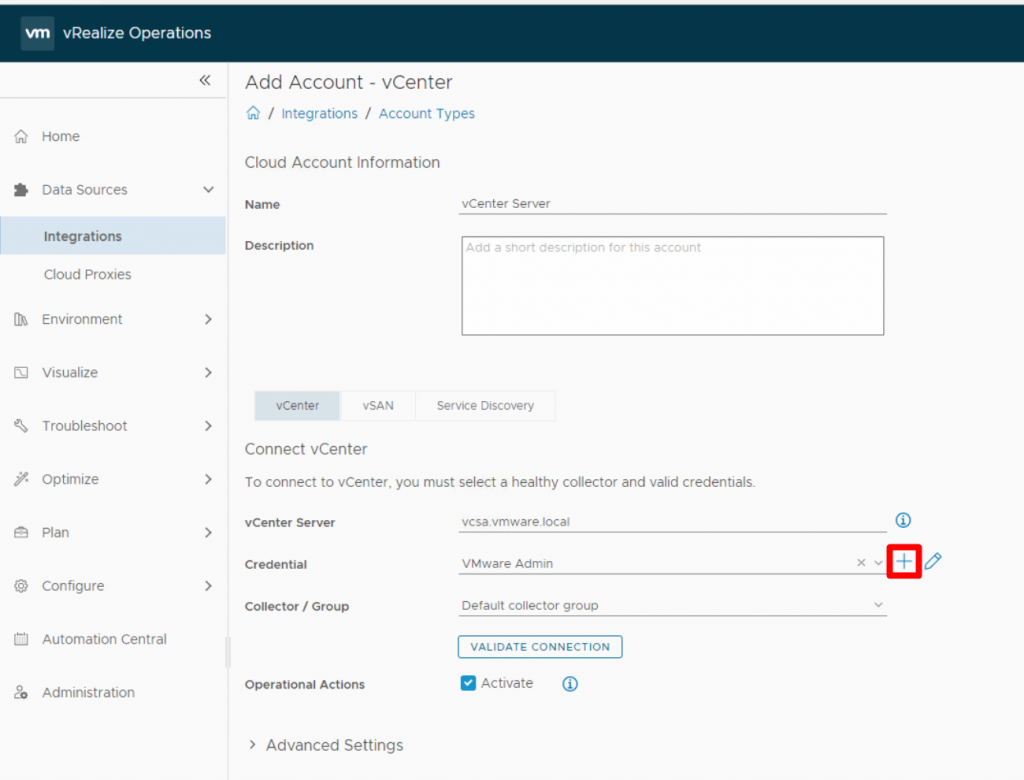
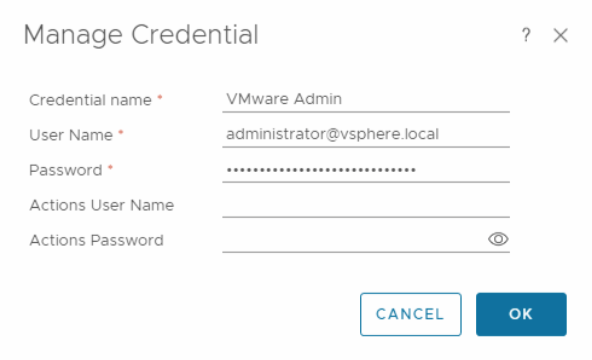
You need to add a credential, so click on the plus symbol, fulfill the requirements, and click OK.
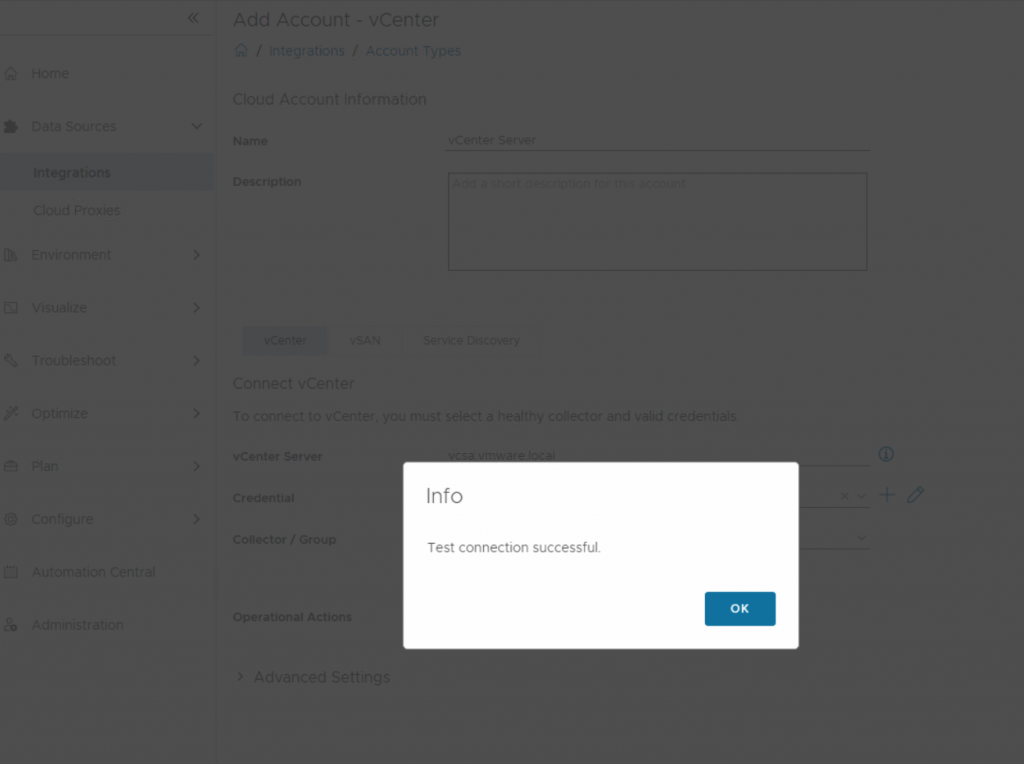
Select Validate Connection to check the connection with the vCenter server. Everything looks good, so click OK and then Add button.
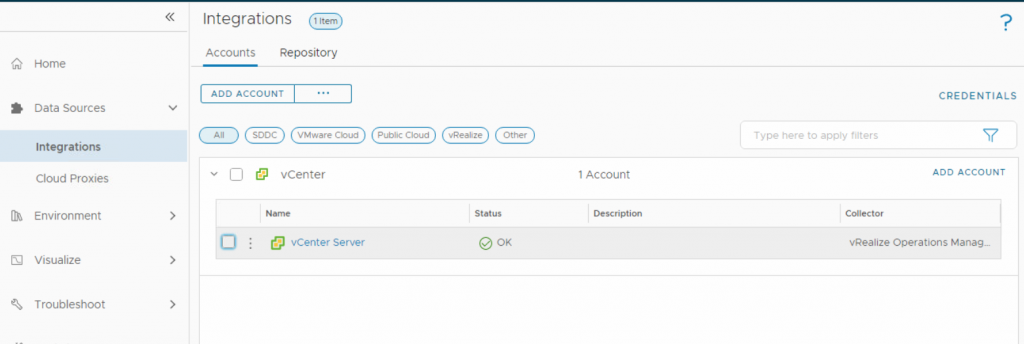
As you can see, vCenter was successfully added to vRealize Operations.
I hope this is informative for you.
Nice Article Yahya Zahedi, thanks for sharing.
Thank you for effort