Welcome to another post in this series, but not the last! If you’ve followed all the steps I’ve outlined, you should already have a configured Workspace ONE and be able to log in to it, but there was nothing there yet! In this post, I’ll show you how to configure Horizon to give Workspace One access to Horizon resources such as applications and virtual machines.
Horizon 8 Series:
- Overview Horizon
- Install Horizon Connection Server
- Horizon Initial Configuration
- Deploy an Instant-Clone Desktop Pool
- Deploying Published Desktops and Applications
- Update an Instant-Clone Desktop Pool
- Configure Dynamic Environment Manager
- Deploy and Configure Unified Access Gateway
- Configure Workspace ONE Access – Part 1
- Configure Workspace ONE Access – Part 2
- Configure Workspace ONE Access – Part 3
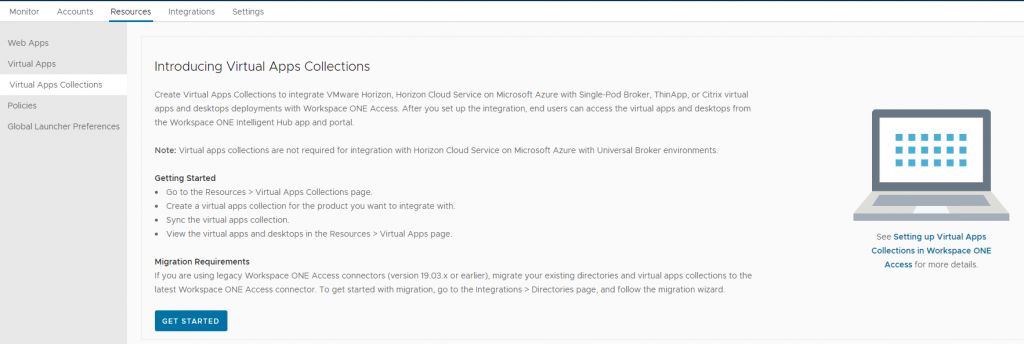
Configure Horizon in Workspace ONE Access
1- Log in to the Workspace ONE Access console and under the Resources tab, select Virtual Apps Collections and click GET STARTED. If you are visiting this page for the second time, click New.
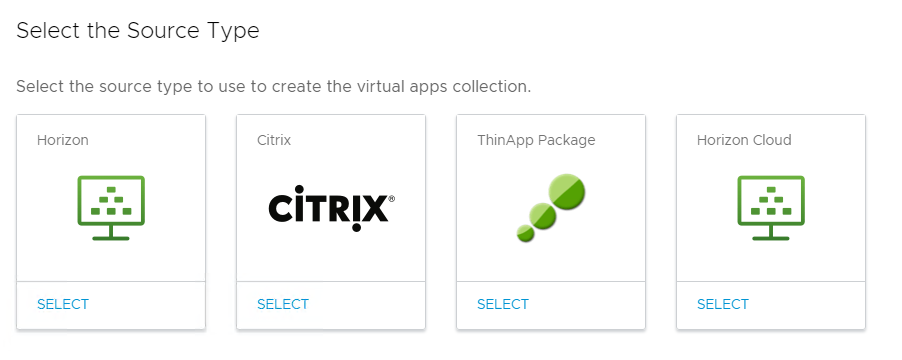
2- Select Horizon as the source type.
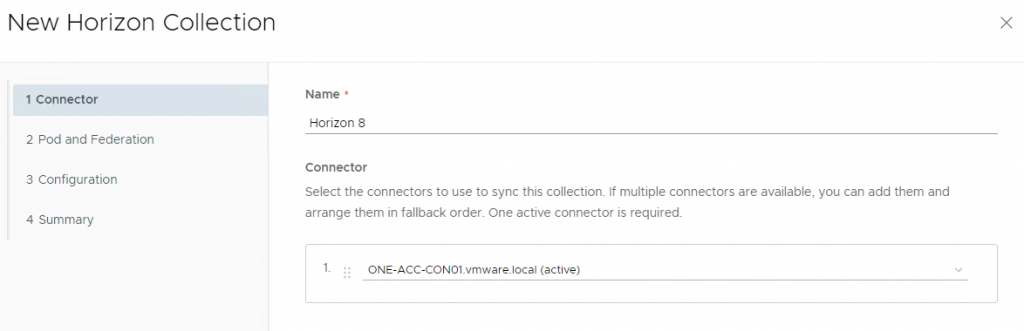
3- In the New Horizon Collection wizard, enter a Name for this collection, select the connector and click Next.
4- Click Add a POD to enter Horizon connections information
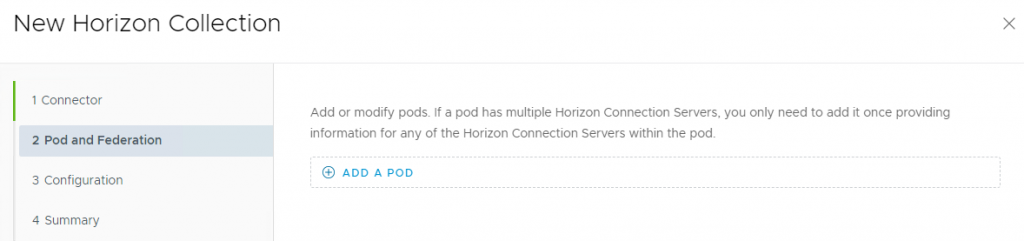
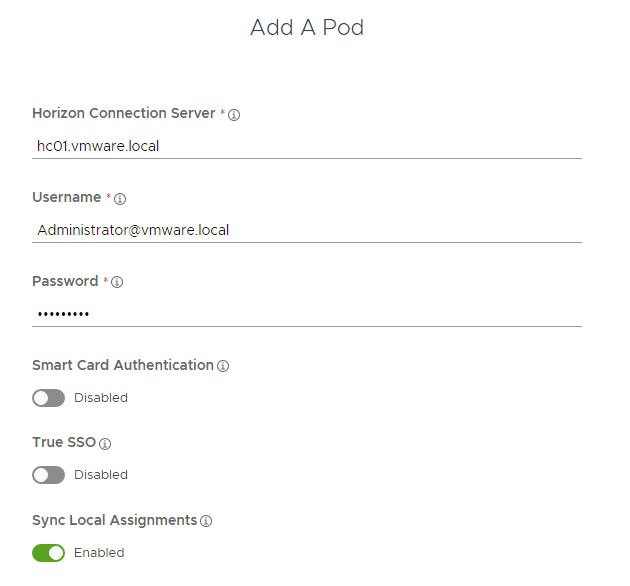
5- Enter the FQDN of the connection server and specify the username and password for this connection server. Leave the other settings as default for now and click Add.
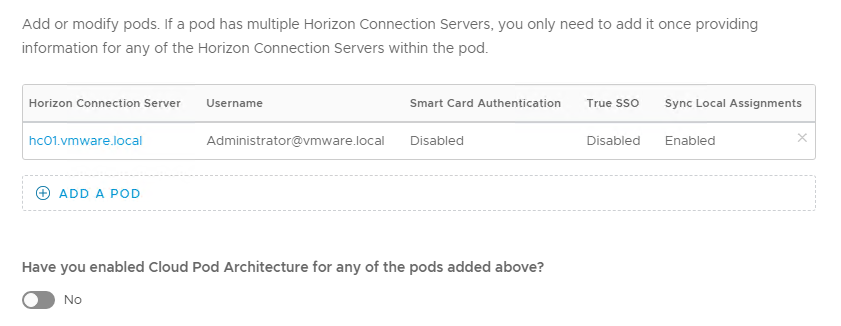
3- After successful authorization, your connection server should be displayed here, and click Next.
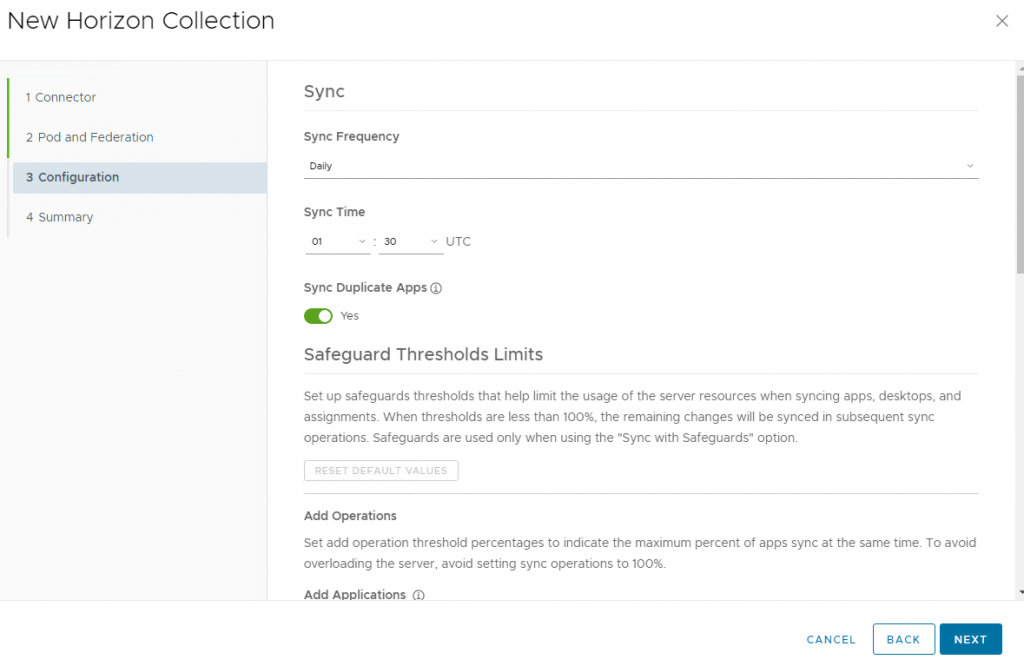
4- Set how often Horizon resources should be synchronized with Workspace ONE. You can also set a threshold for the number of changes in the resources at each synchronization, but the first time this configuration is ignored and synchronization occurs without any limit. By default, the threshold is set to 10% for all categories. I leave the security settings at the default values for now and click Next.
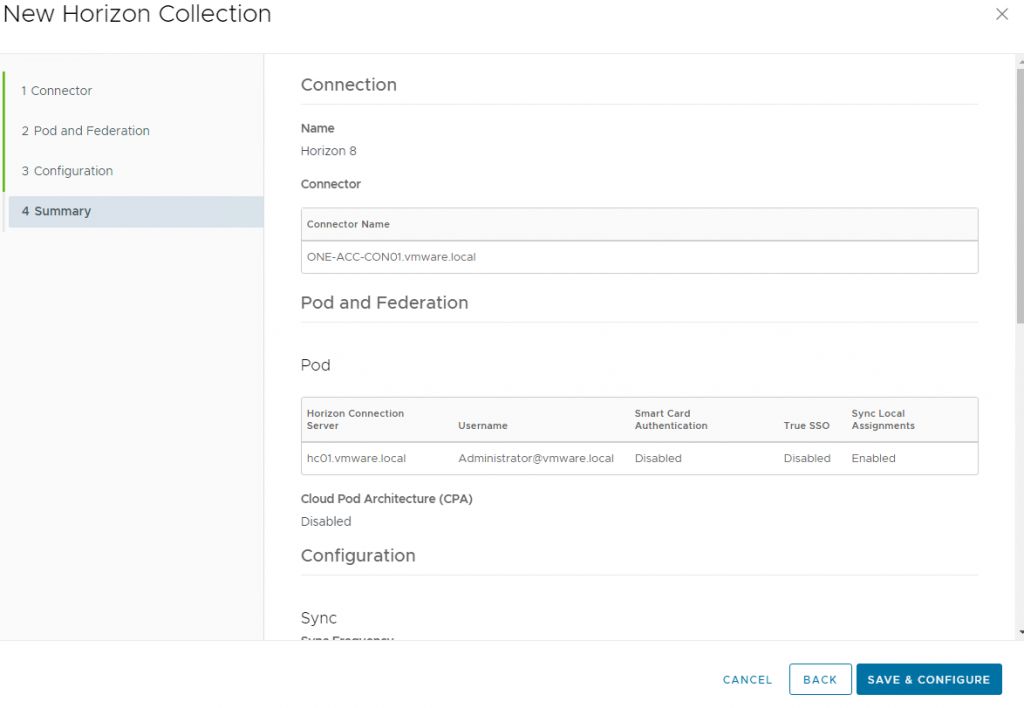
5- Review the selections and click Save.
6- Horizon has been successfully added to Workspace ONE. Now you can customize the users to connect to a specific connection server based on the network range, and you can also specify the Client Access FQDNs. Click the virtual app collection you created, and on the Network Ranges tab, select ALL RANGES and Client Access FQDNs for end users (I added my external UAG URL in this case).

7- Now under the Overview tab, select SYNC, and from the drop-down menu select Sync without safeguards.

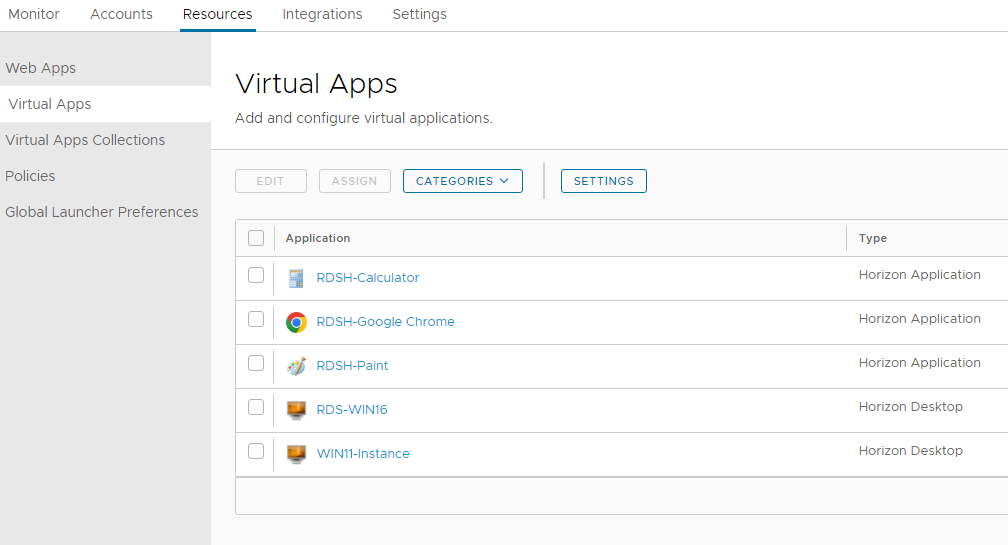
8- If you go to the Virtual Apps under Resources tab, you will see syncronized application and desktops.
9- In next step, I will configuire SAML to allow users to launch desktops and applications using single sign-on, because without the SAML configuration, end users will need a second login procedure.
Configure SAML Authentication
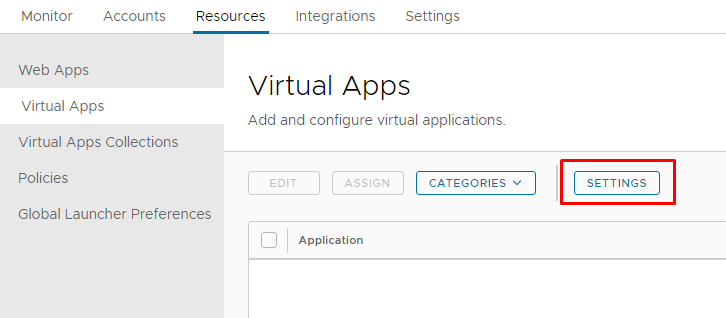
1- In Workspace ONE under Resources tab, select Virtual Apps and click SETTINGS.
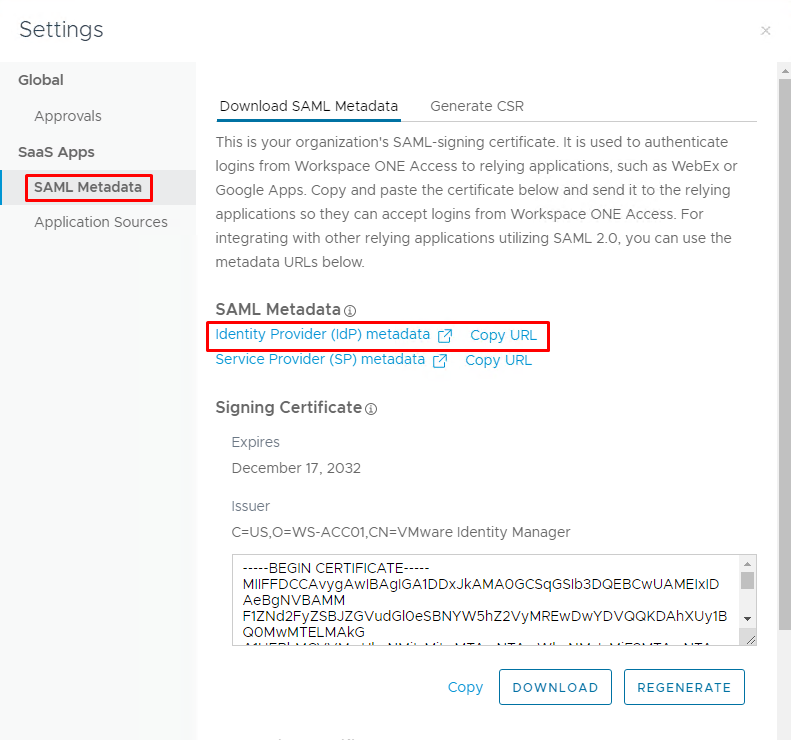
2- From the left pane, select SAML Metadata and click Copy URL next to the Identity Provider (IdP) metadata link.
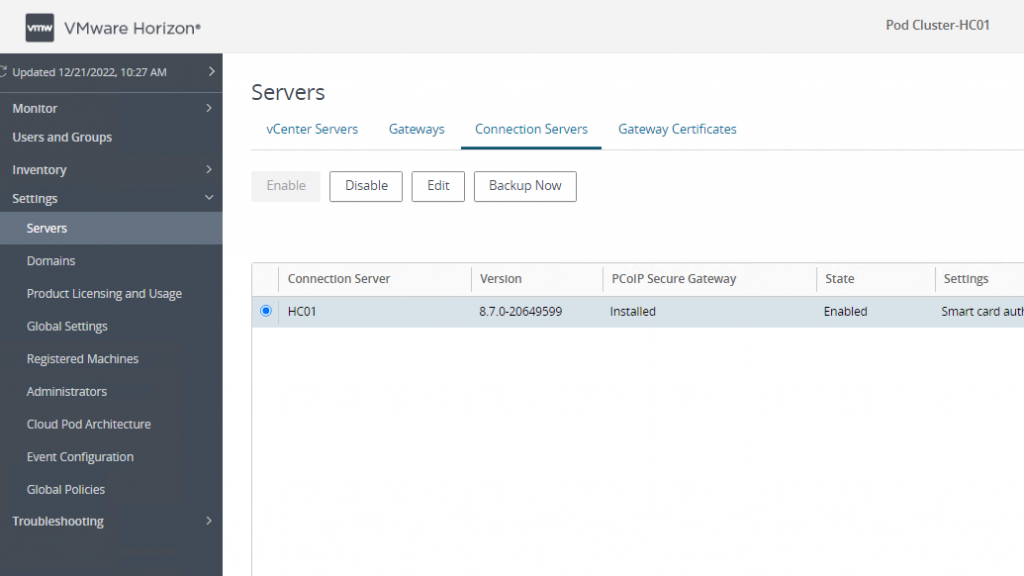
3- Log in to the Horizon Console and from the left pane, select Servers, and then under Connection Server select the connection server and click Edit.
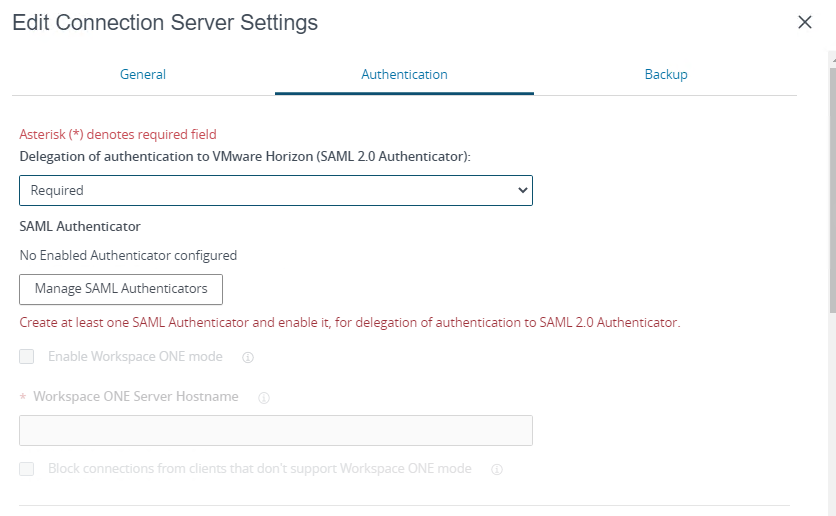
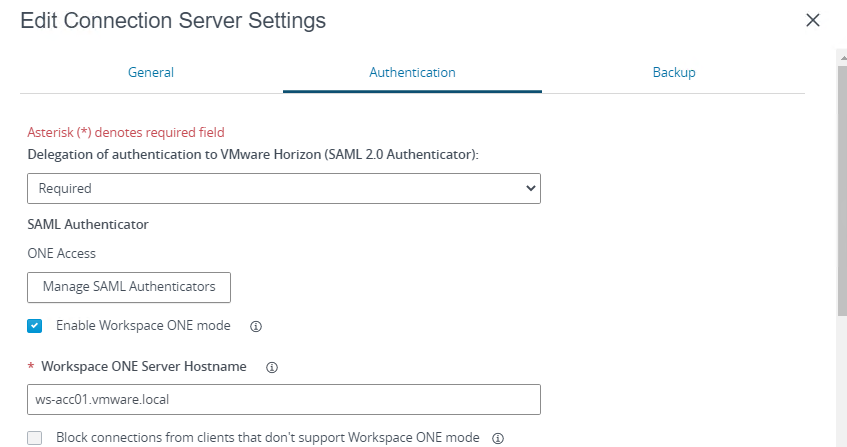
4- On the Authentication tab, select Required from the Delegation of authentication to VMware Horizon drop-down menu and click on Manage SAML Authenticators.
| Disabled | Remote desktops and applications run only from Horizon Client. |
| Allowed | Remote desktops and applications from both Horizon Client and Workspace ONE Access or a third-party device. |
| Required | Remote desktops and applications only from Workspace ONE Access or a third-party device. |
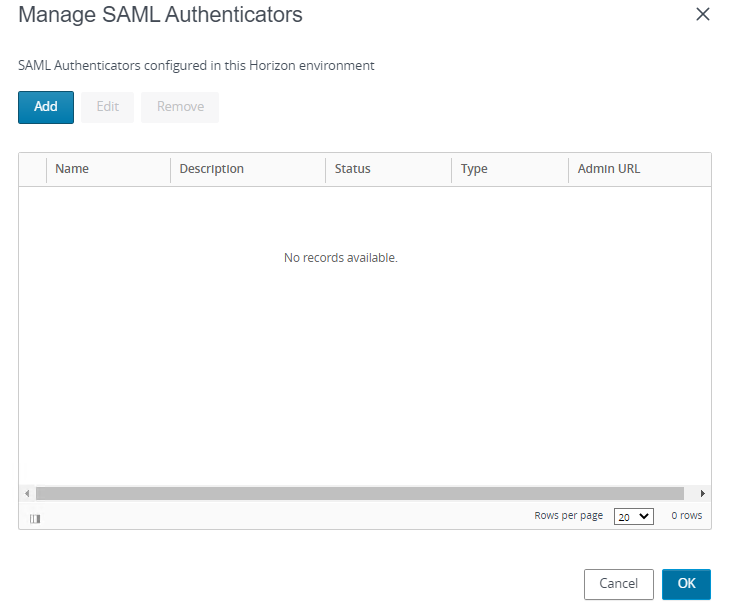
5- Click Add in the new window.
6- Enter a proper name for this Authenticator and paste the URL you copied in the previous steps into the Metadata URL field.
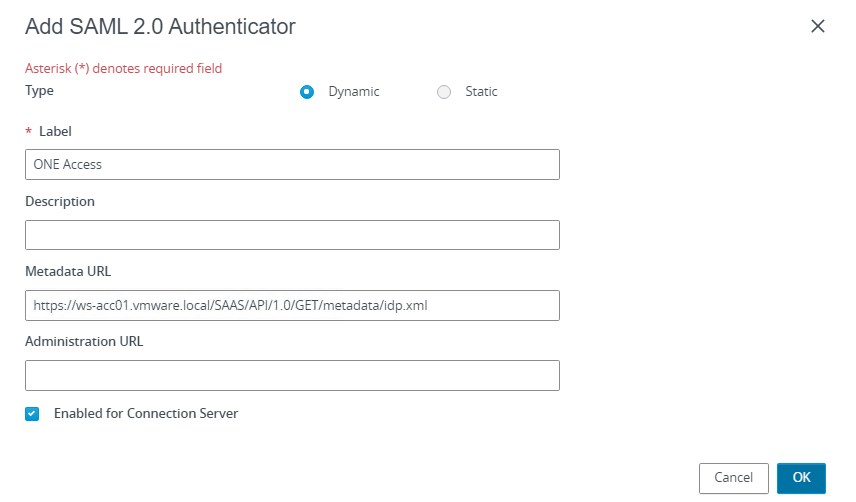
7- If you are not using a valid certificate, a warning message is displayed. Click View Certificate and accept it.

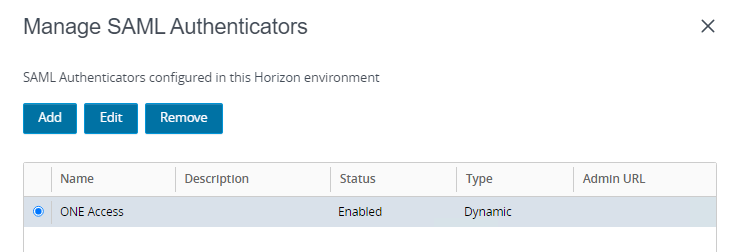
8- As you can see, the SAML authenticator has been successfully added and its status is enabled and click OK.
9- Select Enable Workspace ONE mode and enter the Workspace ONE FQDN in the field.
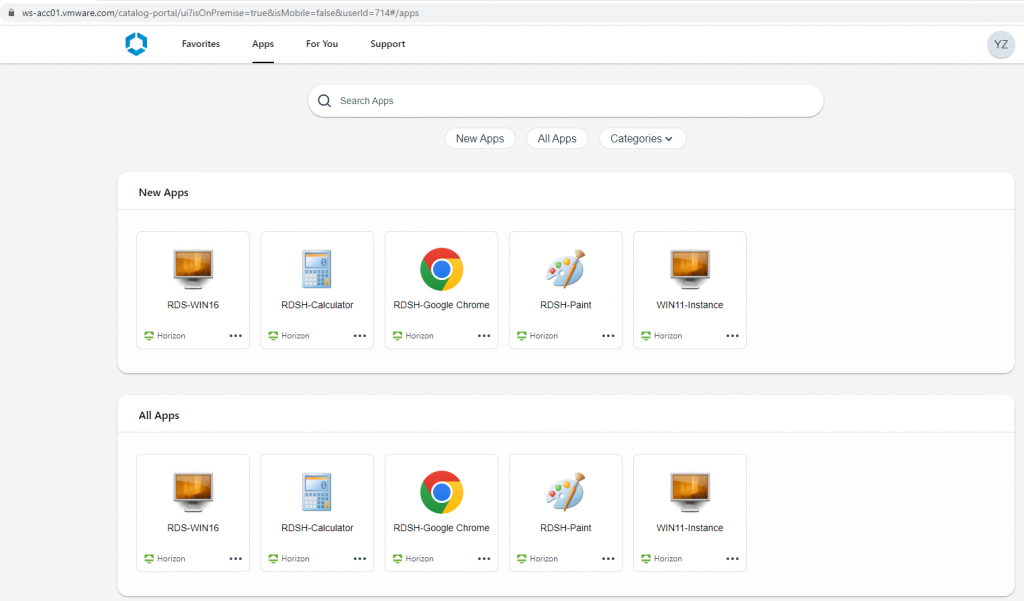
10- Now log in to the VMware Workspace ONE Access console. You can view the desktop and applications in the Workspace ONE Access console and also launch the resources without having to re-enter your credentials.
I hope this is informative for you.
Hello,
I have a small issue while trying to reverse proxy for Workspace ONE Access through the Unified Access Gateway,
Specific problem phenomena:
The UAG reverse proxy was successful, and the login interface displayed Workshop ONE Access. After logging in, the connection I opened was FQDN/catalog portal/ui? isOnPremise=true&isMobile=false&userId=109, The content is all white, and the proxy mode is as follows: (/|/SAAS (. *) |/hc (. *) |/web (. *) |/catalog portal (. *))
Hi,
If I understood correctly, you are facing with a blank screen after login? Pattern configuration seems Ok to me, certificate are configured on both UAG and Workspace correctly?
check logs for any errors and warnings