In the last post, I configured the Horizon Connection Server and it is ready to publish and deploy new desktops. In this post, I’ll walk through deploying a windows 11 desktop pool.
Horizon 8 Series:
- Overview Horizon
- Install Horizon Connection Server
- Horizon Initial Configuration
- Deploy an Instant-Clone Desktop Pool
- Deploying Published Desktops and Applications
- Update an Instant-Clone Desktop Pool
- Configure Dynamic Environment Manager
- Deploy and Configure Unified Access Gateway
- Configure Workspace ONE Access – Part 1
- Configure Workspace ONE Access – Part 2
- Configure Workspace ONE Access – Part 3
When we talk about a virtual desktop infrastructure, there are usually two ways to provide a desktop to a user: either you provide a single virtual machine to a user so that each user can connect to their own virtual desktop, or you provide only one session to a user instead of an entire virtual machine, which allows multiple users to access the same resources (servers) simultaneously.
In this post, I’ll show you how to configure the desktop-based pool, and in a later post I’ll set up a session-based pool. Dekstop pools are also divided into automated and manual pools. Automated pools automatically create copies of a special VM which is called master or golden VM image with a unique identity using instance cloning technology (vmFork). Instant clones require less storage and management overhead because the desktop is rebuilt from the golden VM image after the user logs off. Manual pools create a desktop pool based on existing machines, which can be virtual or non-virtual:
- Existing virtual machine
- Physical computer
Create Automated Desktop Pool
To create an automated desktop pool, you need the following prerequisites:
- A Golden Image: It is a VM with an operating system with the required agents and applications. For now, I’ll skip the steps to create a golden image, follow these instructions to create a golden VM. In a nutshell, this process involves the following steps.
- Create a new virtual machine
- Install an operating system
- Optimize the operating system
- Install required applications
- Install necessary VMware agents
- Power off the virtual machine
- Create a snapshot
- Connection Server
- Instant Clone Domain Administrator
- Active Directory OU
- VM Folder – A specific VM folder in the vCenter Server inventory helps you locate and manage the virtual desktops. Follow this guide to create a folder.
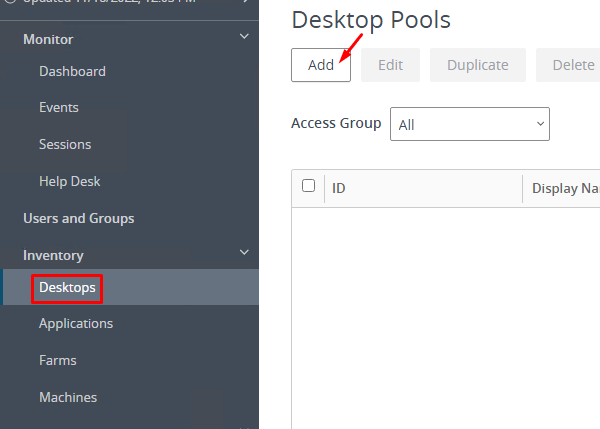
1- Log in to the Horizon console and navigate to Inventory, Desktops, and click the Add button.
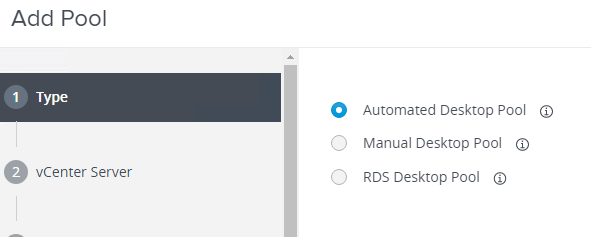
2- Select Automated Desktop Pool, and click Next.
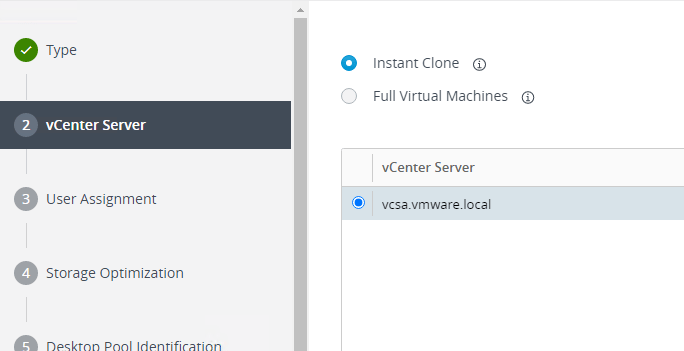
3- On the vCenter Server page, select Instant Clone, and click Next.
4- On the User Assignment page, select Dedicated, and click Next.
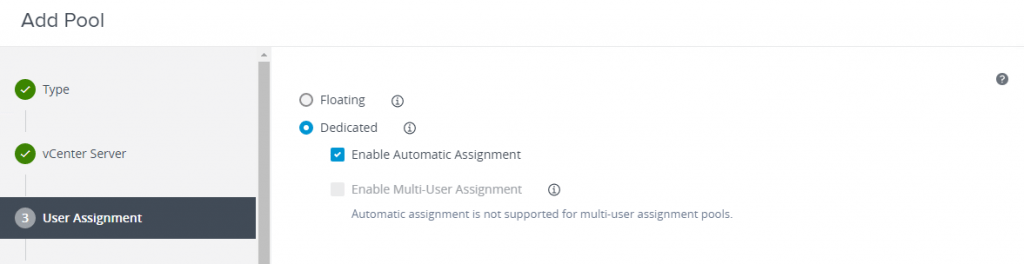
What is the difference between a dedicated and a floating assignment?
In the dedicated assignment, each desktop is assigned to a specific user and they use the same virtual desktop for subsequent logins, and that desktop is not available to any other user.In contrast, with floating assignments, users get a random desktop every time they log in, so users do not use the same virtual desktop for subsequent logins.
For example, floating assignments work well for shift work. Instead of provisioning a virtual desktop for each user, you can provision desktops only for the employees on the shift. And after a shift ends (when users log off), the desktop is recreated for the next shift and they are provided with a clean desktop.
Fewer virtual machines, fewer resources, less management overhead.
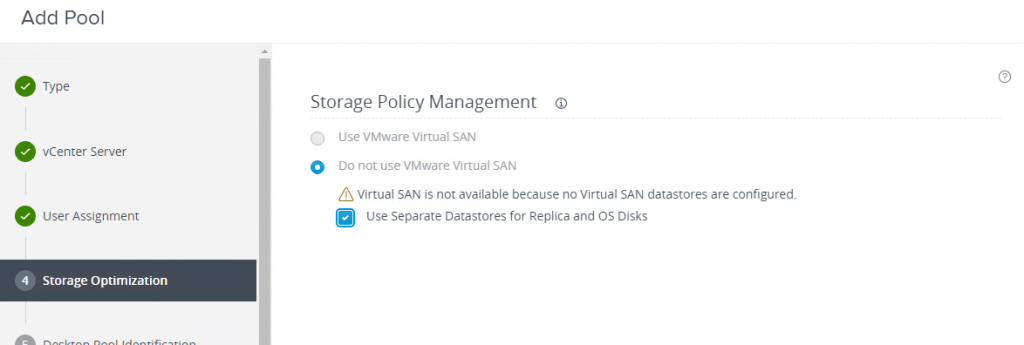
5- On the Storage Optimization page, select Use separate datastores for replica and OS disks, and click Next.
In this way you place replicas and clones on separate datastores with different performance characteristics to speed up disk-intensive operations.
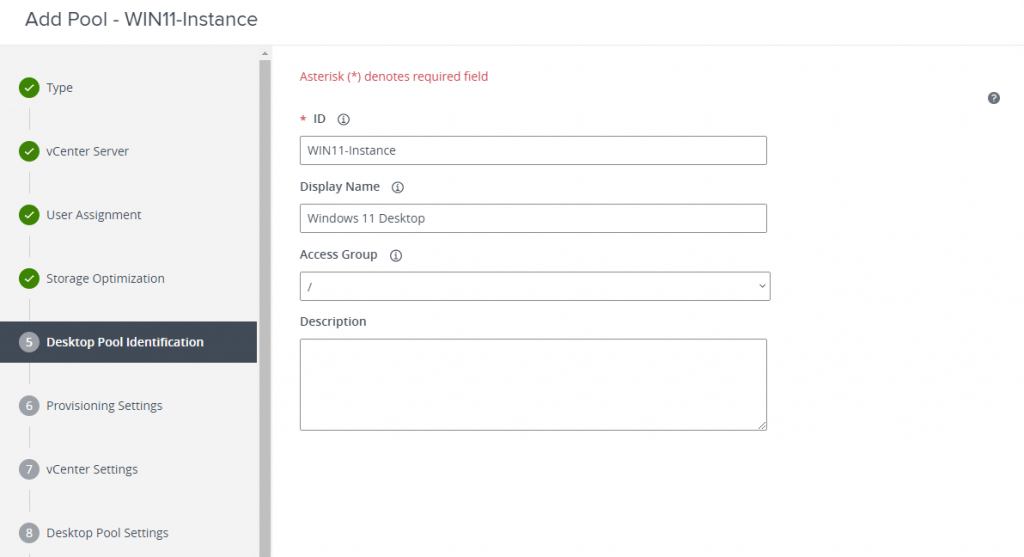
6- On the Desktop Pool Identification page, enter pool ID and a suitable display name and click Next:
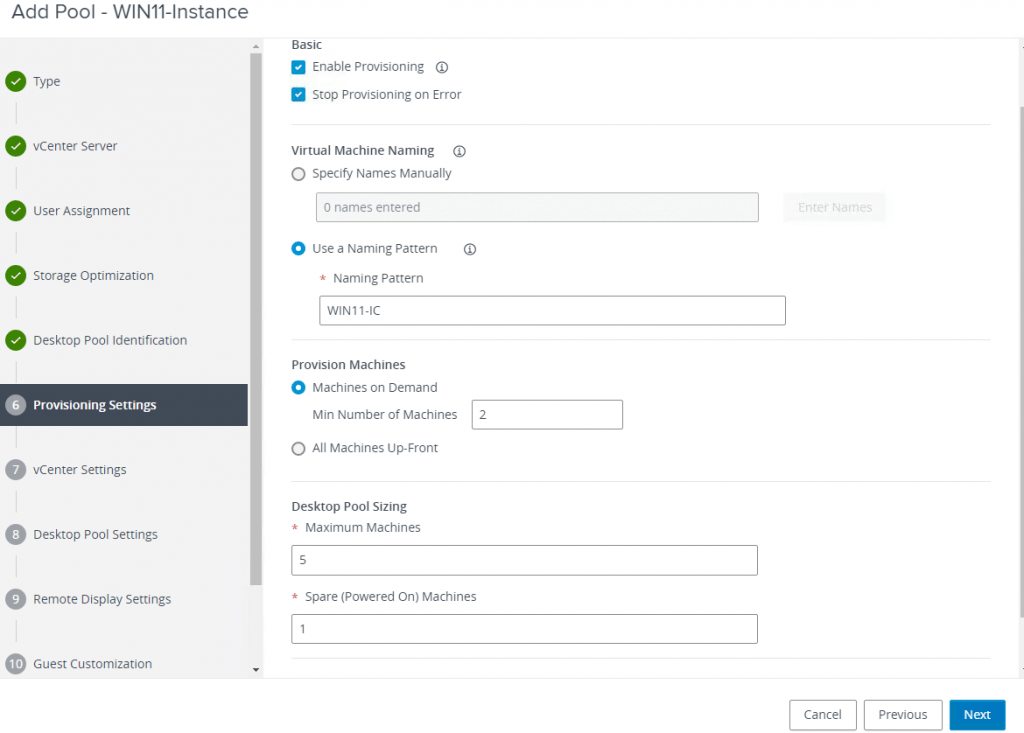
7- On the Provisioning Settings page, complete the settings, as follows, before clicking Next:
- In Virtual Machine Naming, you can name machines by manually specifying a list of machine names or by creating a naming pattern. I prefer to use a naming pattern, so I just write my pattern and it automatically generates a number in front of the name, so the naming of virtual machines would look like this
- WIN11-IC1
- WIN11-IC2
- However, you can also generate a fixed-length token by using this structure in the pattern naming: WIN11-IC-{n:2}, n is the number of digits that can be placed in front of the name, so that the naming of virtual machines would look like this
- WIN11-IC-01
- WIN11-IC-02
- In Provision Machines, specify whether to deploy all desktops (virtual machines) when the pool is created or to deploy desktops on demand.
- Machines on demand: provision the number of VMs you specify on the value for Min Number of Machines or the value for Spare (Powered On) Machines, whichever is higher.
- All machines up front: provisions the number of VMs you specify in Max number of machines now.
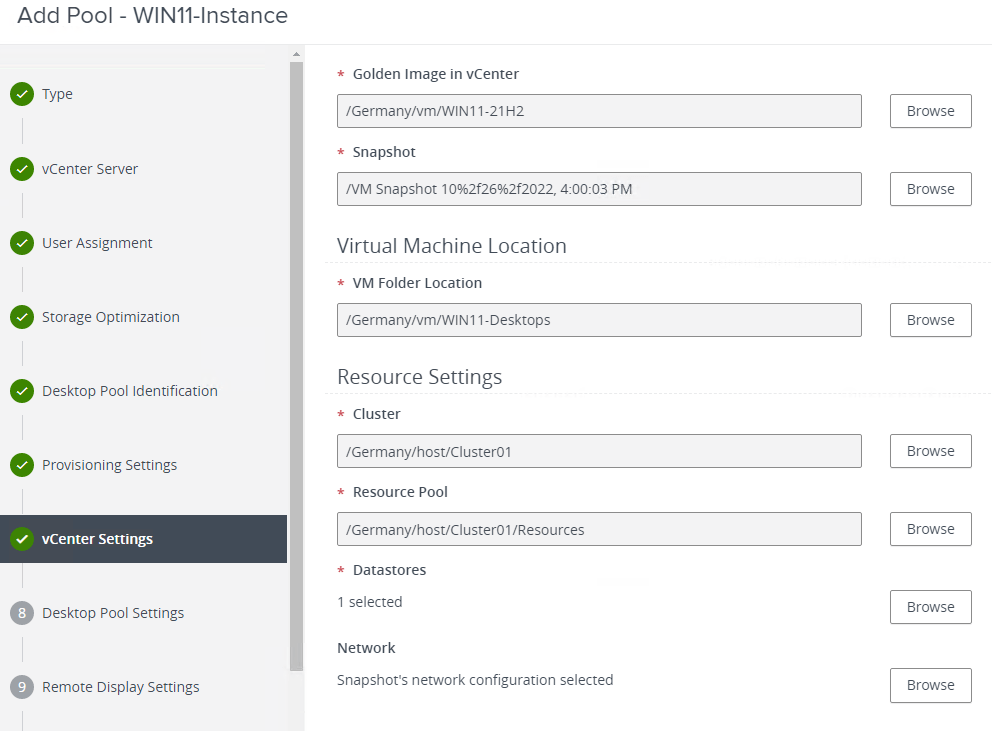
8- On the vCenter Settings page, complete the following settings and then click Next:
- For the Golden Image M in vCenter setting, click Browse to select the golden windows 11 VM you created according to the instructions in Creating an Optimized Windows Image for a VMware Horizon Virtual Desktop and click Submit.
- For the Snapshot setting, click Browse to select the snapshot you created from the golden image as part of the prerequisites for this exercise, and click Submit.
- In the VM Folder Location section, click Browse to select a VM folder if you created one as described in the prerequisites for this exercise.
- In the Resource Settings section, click Browse to select the appropriate vCenter resource for each setting.
- Due to the limitation of my lab environment, I use one data store, but it is recommended to choose two data stores, one for Instance Clone Datastores and one for Replica Disk Datastores to speed up the performance.
- For the Network setting, leave the default, which means it uses the network configurations from the golden VM image.
9- On the Desktop Pool Settings page, leave the defaults and click Next.
10- On the Remote Display Settings page, leave the defaults and click Next.
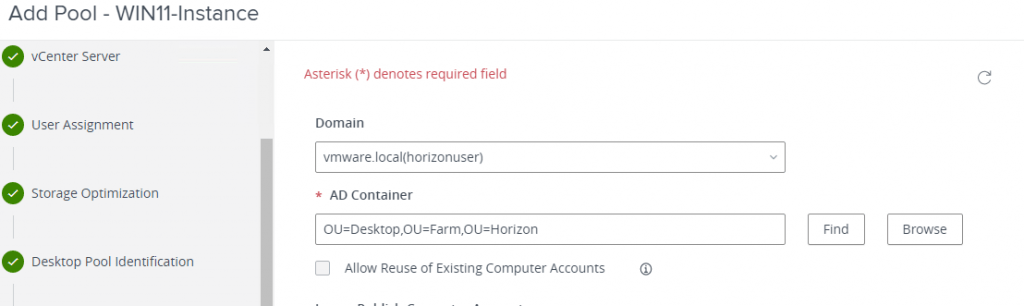
11- On the Guest Customization page, adjust the settings to your environment:
- Verify that the correct domain and domain admin account is selected.
- For the AD container, click Browse and select the OU that you created in the last post.
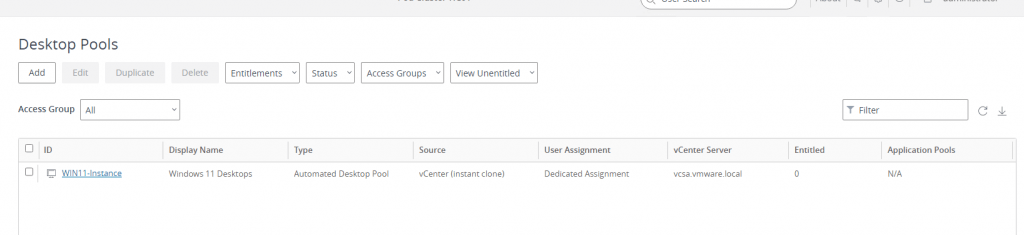
12 – On the Ready to Complete page, review the configuration and then click Submit. In order to monitor pool creation, click the name of the desktop pool in the list.
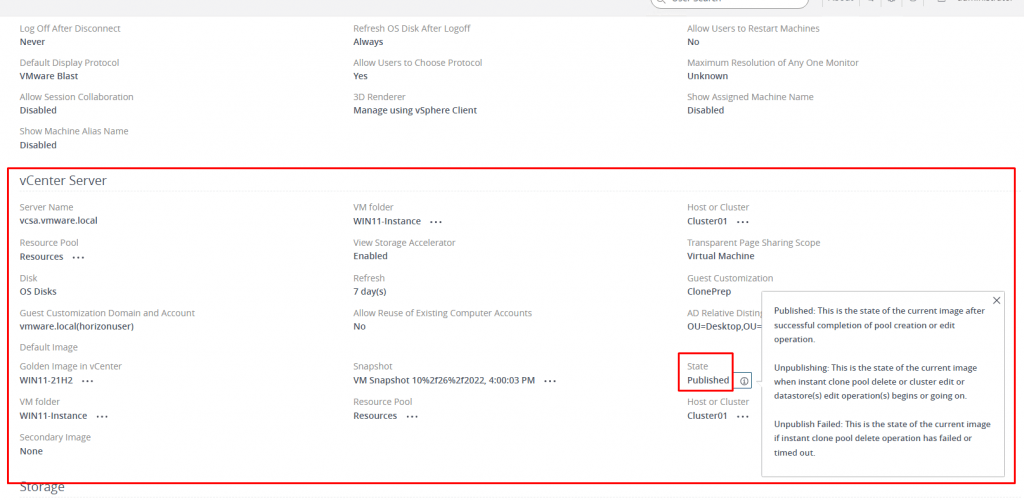
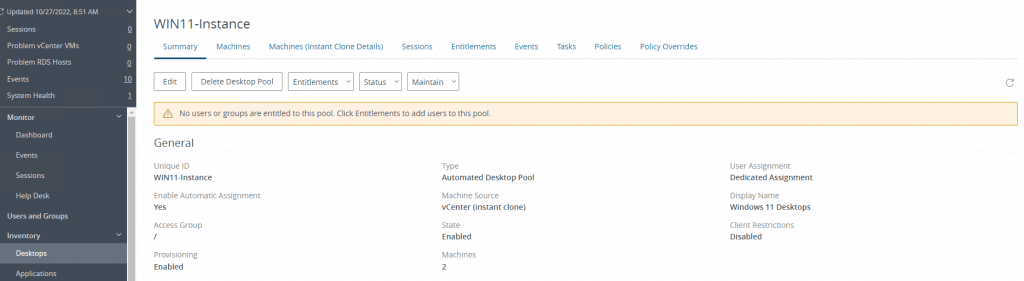
On the Summary tab page, scroll down to the vCenter Server section, and notice the State field. When the creation of the pool is complete, the State field will display “Published“.
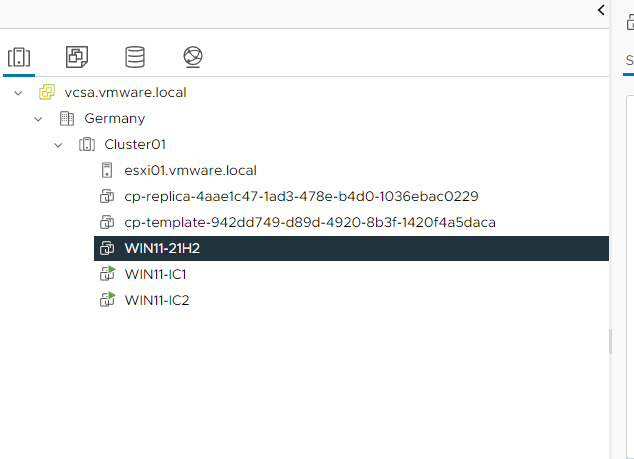
You can access to more detials by clicking the Machines under Inventory.
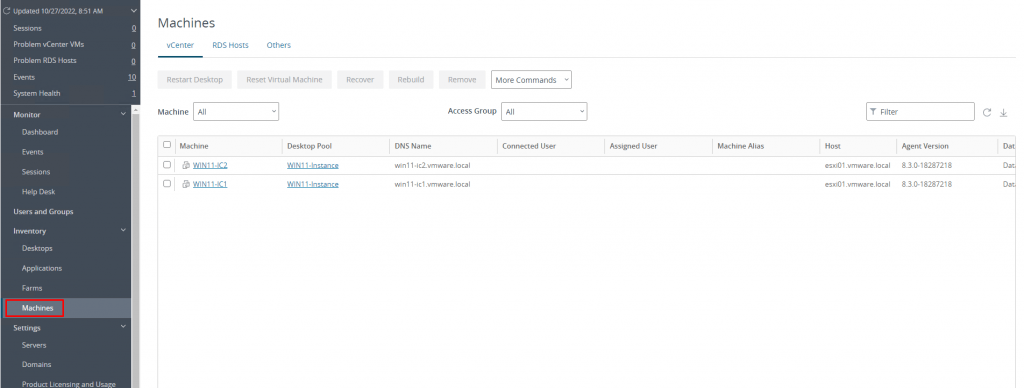
As you can see, these virtual machines are automatically created in Center.
13 – Now It is time to configure entitlements to control which users can access these desktops. Select the desktop and click the Entitlements button and select Add Entitlements.
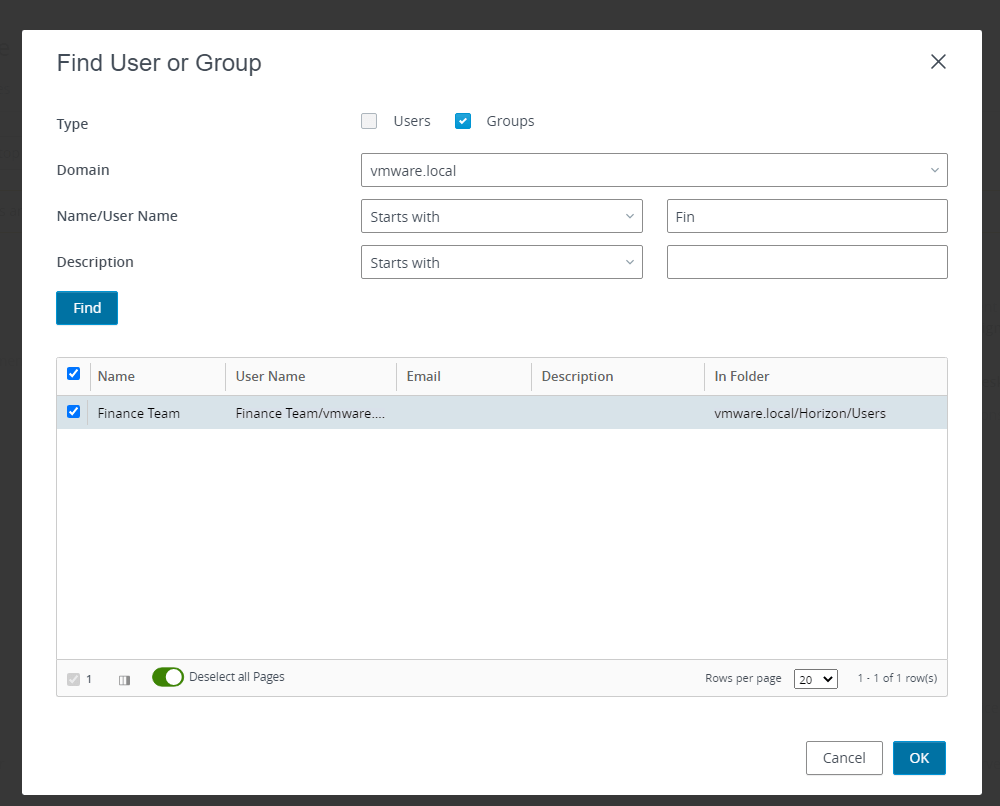
14 – In the Add Entitlements dialog box, click Add. Use the Find to search for users or groups and then select the users or groups to entitle, and click OK.
15 – In the Add Entitlements dialog box, verify that the desired users or groups now appear in the list, and click OK. To verify that the entitlements have been added, click the name of the desktop or application pool in the list of pools, and select the Entitlements tab.

Setup Horizon Client
Now I’ve completed virtual desktop provisioning and user entitlement, it’s time to explore end-user connection options. End users can connect to desktops and applications through a variety of Horizon clients, including desktop and mobile clients. VMware offers native Horizon clients for a variety of operating systems, including iOS, Android, Chrome, macOS, Windows, and Linux. Alternatively, from a supported browser on a client device, end users can connect to remote desktops and applications without needing to install any applications.
1- Enter the URL of your Connection Server in a browser:
Https://<FQDN or IP address of Horizon connection>
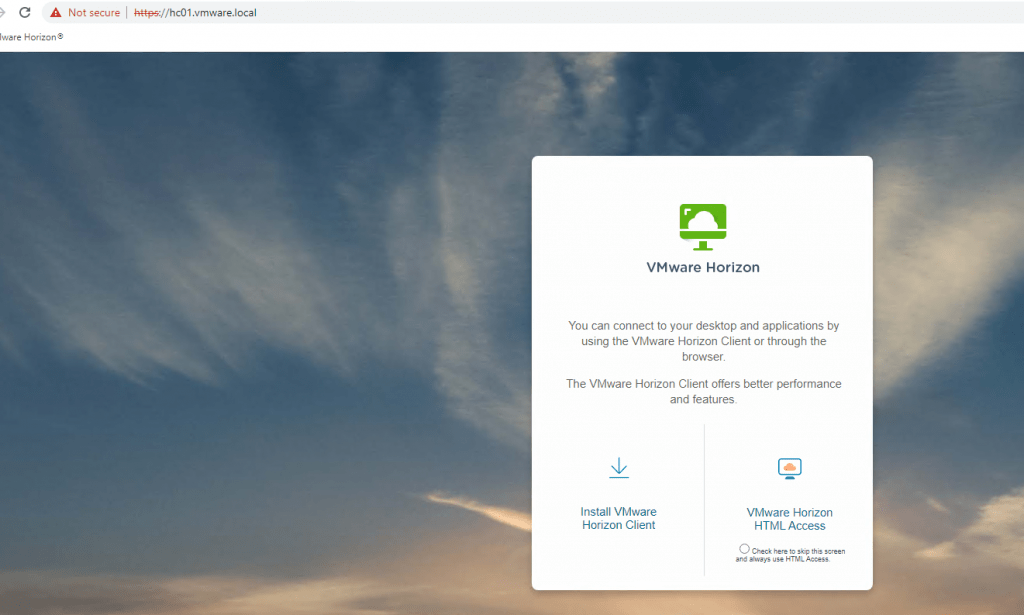
2- On this page, you can either download the VMware Horizon Client or access to HTML version of the Horizon client. Click install VMware Horizon Client to go to the Download VMware Horizon Clients page, and download and install the free Horizon Client software.
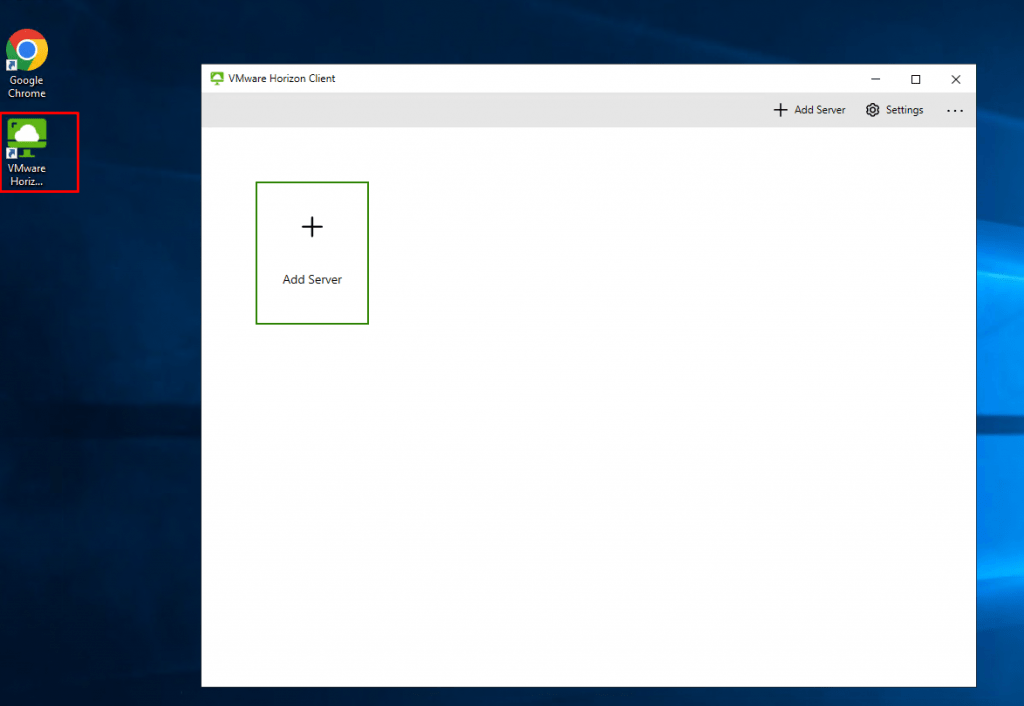
3- Open VMware Horizon Client and click the Add Server button.
4- When prompted, enter the FQDN of the Connection Server (in my case hc01.vmware.local ), and click Connect.
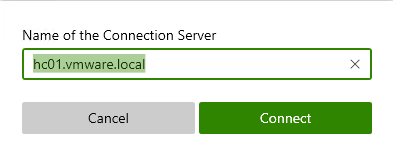
If you receive a security warning, click Continue to bypass the certificate warning. If you have a valid certificate for horizon connection, this warning does not appear.
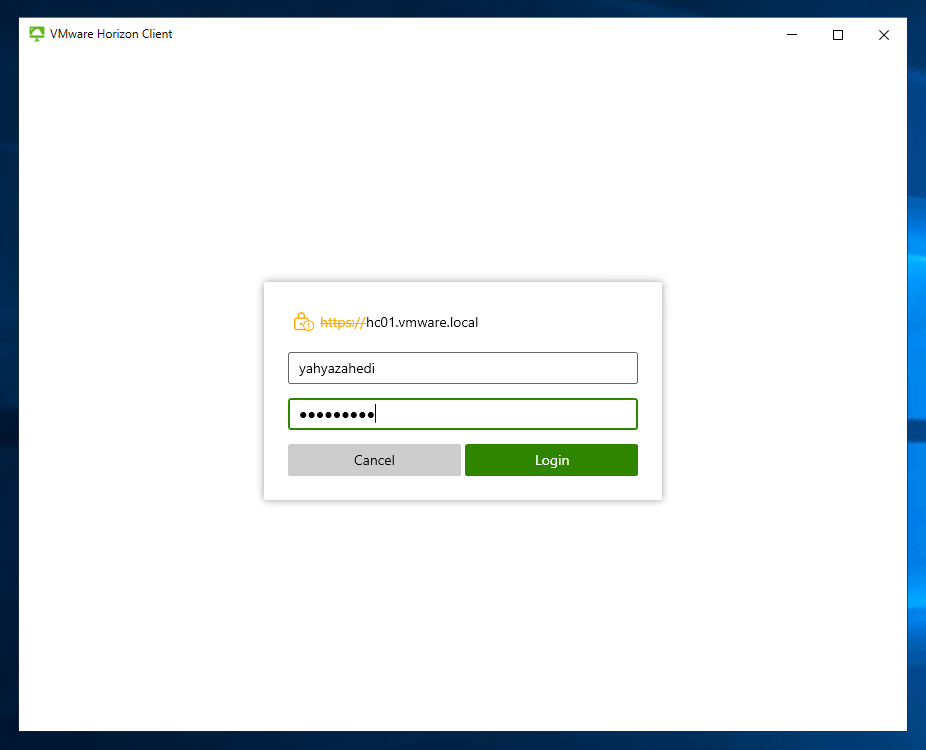
5- In the Login dialog box, enter the user name and password of a user who is entitled to the desktop or published applications, and click Login.
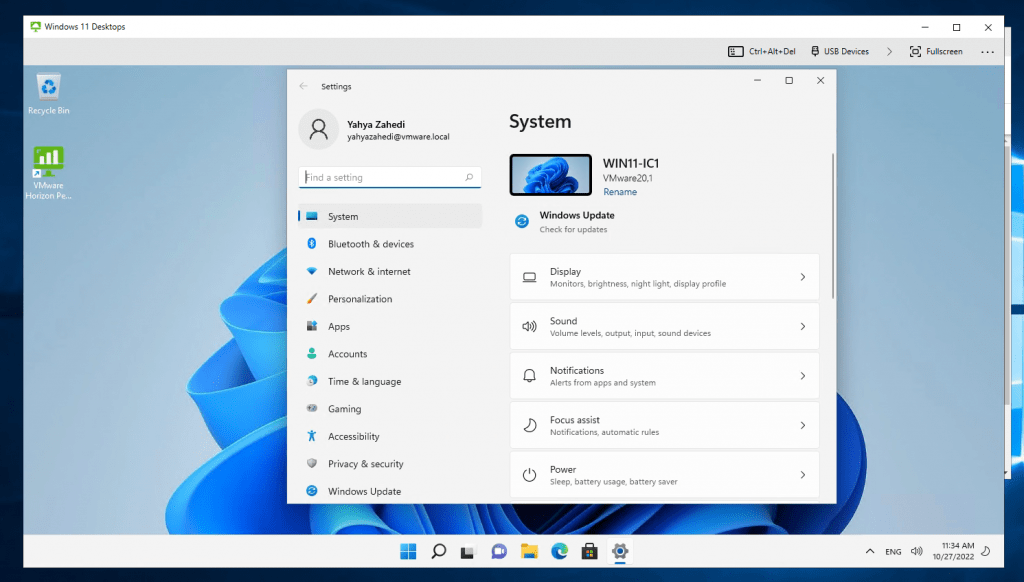
6- To launch the desktop, double-click on Windows 11 Desktops icon to log into windows.
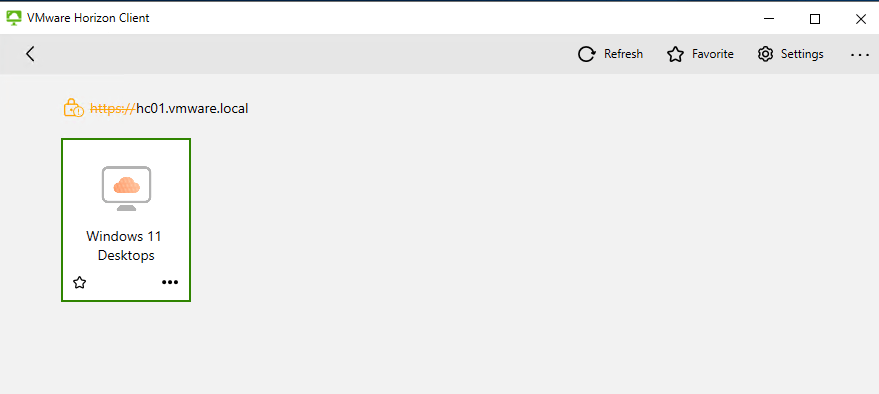
7- As you can see, I have successfully logged into Windows.
I hope this is informative for you. If you have any questions, please do not hesitate to contact me.