In the last post, I configured the desktop-based pool and now I will show you how to set up a session-based pool to provide desktop sessions and deliver applications to many users. Horizon uses Microsoft Remote Desktop Services (RDS) to provide desktop and application sessions to users.
Horizon 8 Series:
- Overview Horizon
- Install Horizon Connection Server
- Horizon Initial Configuration
- Deploy an Instant-Clone Desktop Pool
- Deploying Published Desktops and Applications
- Update an Instant-Clone Desktop Pool
- Configure Dynamic Environment Manager
- Deploy and Configure Unified Access Gateway
- Configure Workspace ONE Access – Part 1
- Configure Workspace ONE Access – Part 2
- Configure Workspace ONE Access – Part 3
Create RDS Farm
To deploy published applications and desktops, the following requirements are necessary:
- You need to create an optimized virtual machine, including windows, and the installation of the required VMware agents and applications. This virtual machine must also have an RDS role and the appropriate role services installed. Follow this topic Prepare an RDS Host Golden Image Virtual Machine and Prepare Windows Server Operating Systems for Remote Desktop Services (RDS) Host Use. (I will post later step by step to create such a VM)
- Create a snapshot of this VM
- Connection Server
- Instant Clone Domain Administrator
- Active Directory OU
- VM Folder (Optional) – A specific VM folder in the vCenter Server inventory helps you locate and manage the virtual desktops. Follow this guide to create a folder.
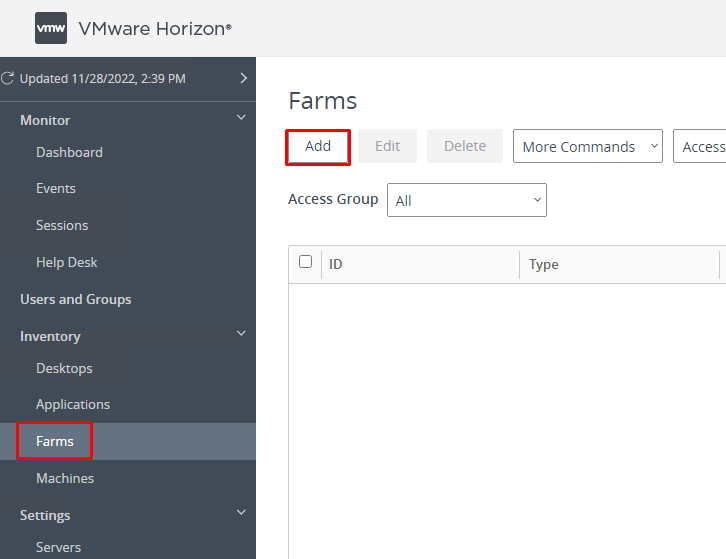
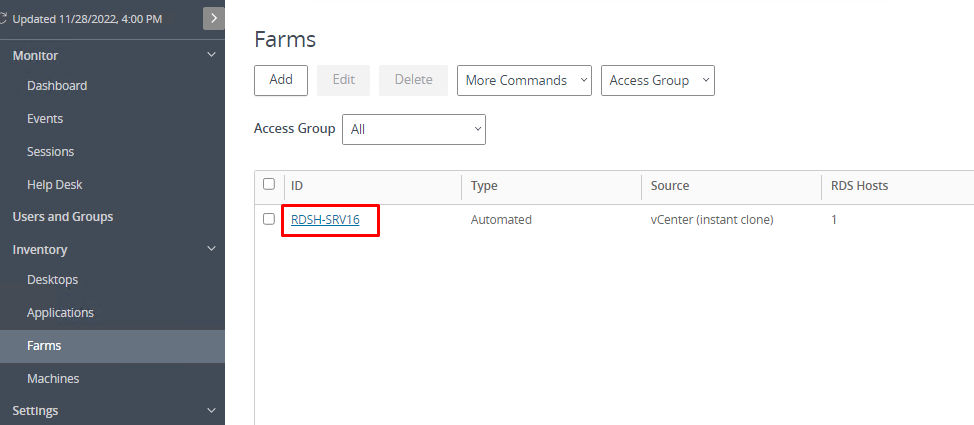
1- Log in to the Horizon console and navigate to Inventory, Farms, and click the Add button.
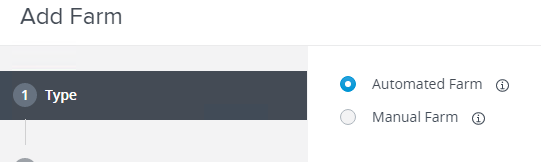
2- On the Type page, select Automated Farm and click Next.
An Automated Farm uses golden virtual machines to automatically create or resize the farm.
A Manual Farm uses remote desktop session host (RDSH) servers hosted on physical or virtual machines that are manually added to the farm.
3- On the vCenter Server page, select Instant Clone, and click Next.
4- On the Storage Optimization page, click Next.
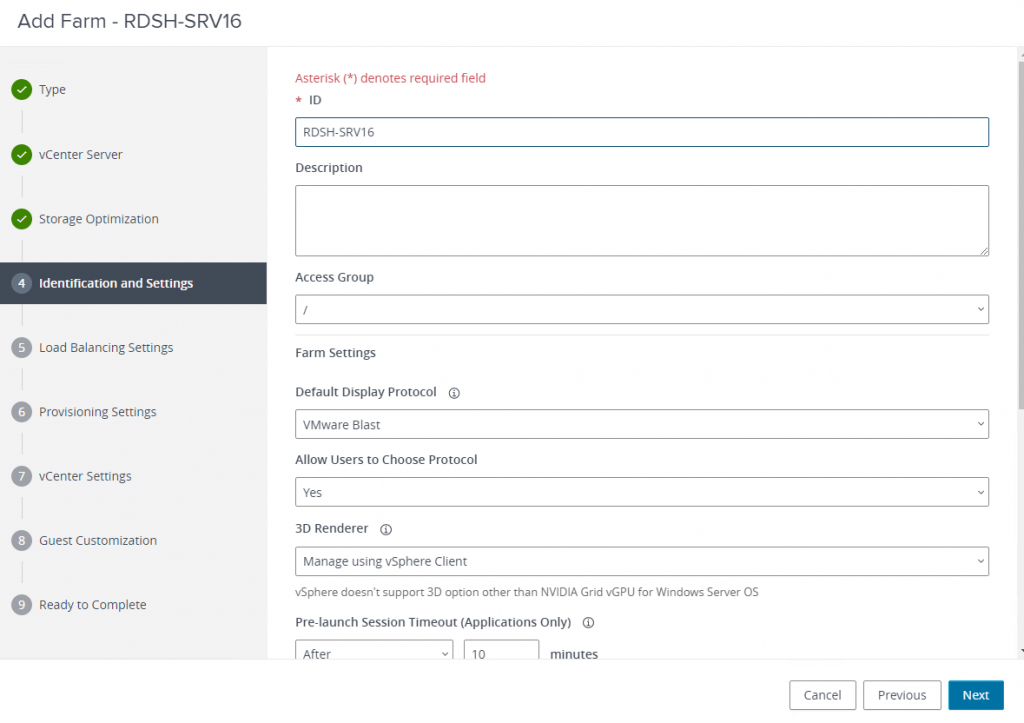
5- On the Identification and Settings page, complete the necessary fields and click Next:
- ID – This is the unique name that identifies the pool. For this exercise, I use the RDSH-SRV16.
- Access Group – If you do not specify an access group, the pool is placed in the root access group. For more information about access groups, see the product documentation topic Manage and Review Access Groups in the Horizon Administration guide.
- Leave the other settings as default.
6- On the Load Balancing and Settings page, don’t change any things and click Next.
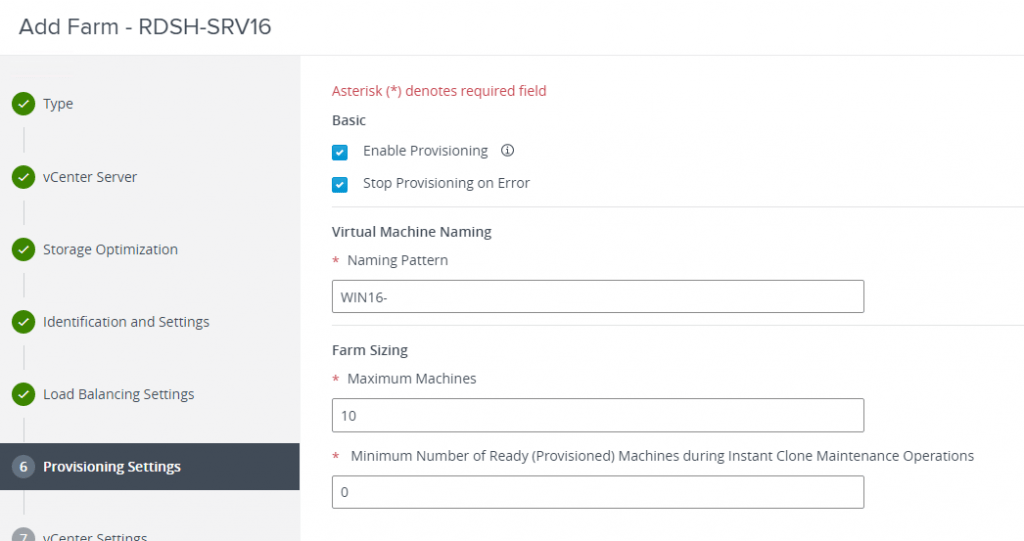
7- On the Provisioning Settings page, complete the fields and click Next:
- Naming Pattern – For this exercise, I use “WIN16-” and it automatically generates a number in front of the name, so the naming of virtual machines would look like this
- WIN16-1
- WIN16-2
- However, you can also generate a fixed-length token by using this structure in the pattern naming: WIN16-{n:2}, n is the number of digits that can be placed in front of the name, so that the naming of virtual machines would look like this
- WIN16-01
- WIN16-02
- Farm Sizing – Set the Maximum Machines to the number you require (for this exercise, I set the value to 10), and set the Minimum Number of Ready (Provisioned) Machines to 1.
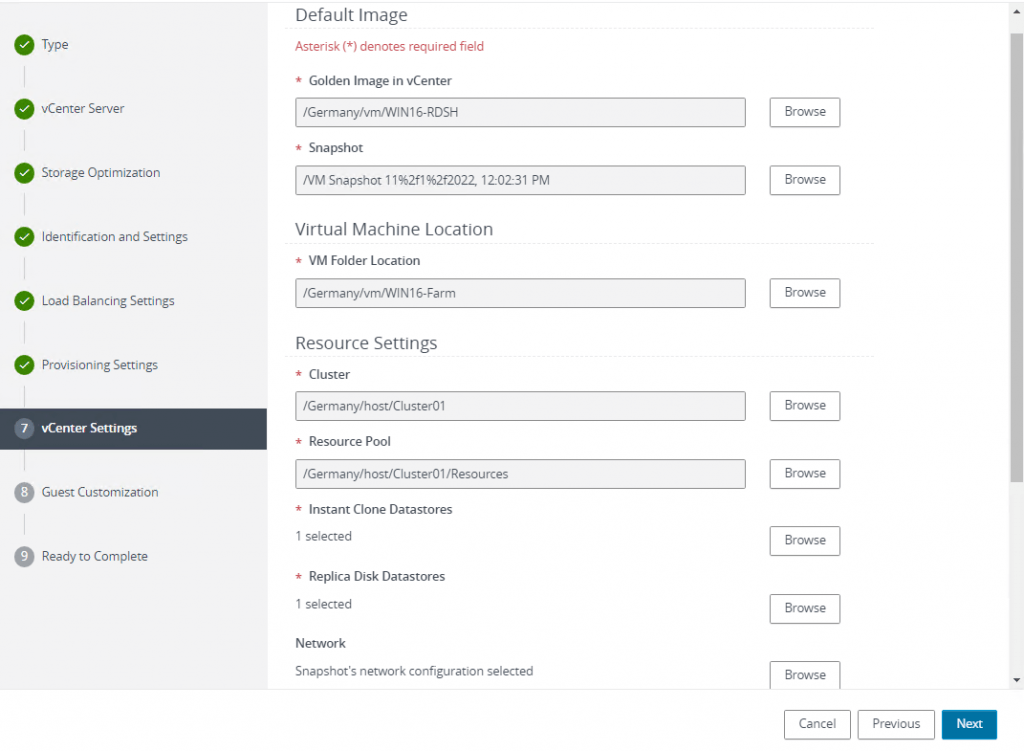
8- On the vCenter Settings page, complete the Default Image settings, as follows:
- For the Golden Image in vCenter setting, click Browse to select the Windows server you created for this purpose and click Submit.
- For the Snapshot setting, click Browse to select the snapshot and click Submit.
- In the VM Folder Location section, click Browse to select a VM folder.
- In the Cluster section, select the appropriate Cluster for this farm. VM will be deployed in this cluster.
- In the Resource Pool section, select the resource pool if you have created one, or use the default one.
- Due to the limitation of my lab environment, I use one data store, but it is recommended to choose two data stores, one for Instance Clone Datastores and one for Replica Disk Datastores to speed up the performance.
- For the Network setting, leave the default, which means it uses the network configurations from the golden VM image. If you want to assign a different network to the new virtual machine, click Browse to select the network port group.
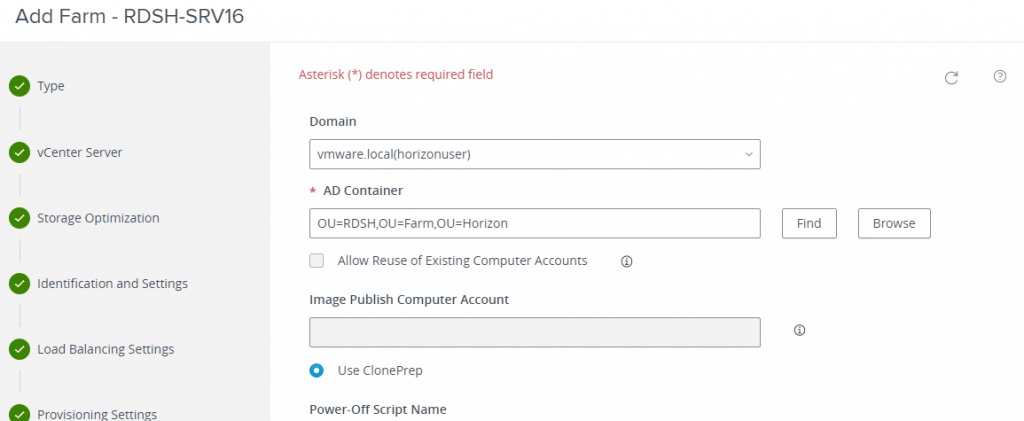
9- On the Complete the Guest Customization page, verify that the correct domain and domain admin account is selected.
- This is the account I created earlier and added to the horizon in this post.
- For the AD container, click Browse and select the OU that was created earlier in this post.
- Leave the other settings as default, and click Next.
10- On the Ready to Complete page, click Submit.
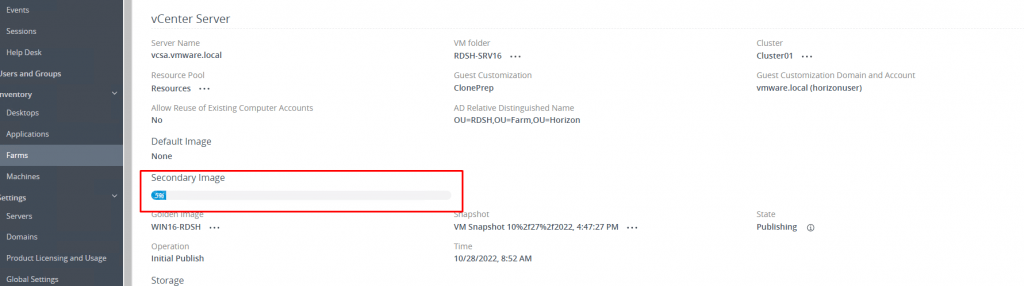
11- To monitor farm creation process, click one the name of the farm.
Under the Summary tab, scroll down to the vCenter Server section, and note the State field and the Secondary Image field. The Secondary Image field shows the percentage of progress and State field show the current state of Farm. When the farm is successfully created, the State field will be changed from Publishing to Published.
Deploy Published Applications
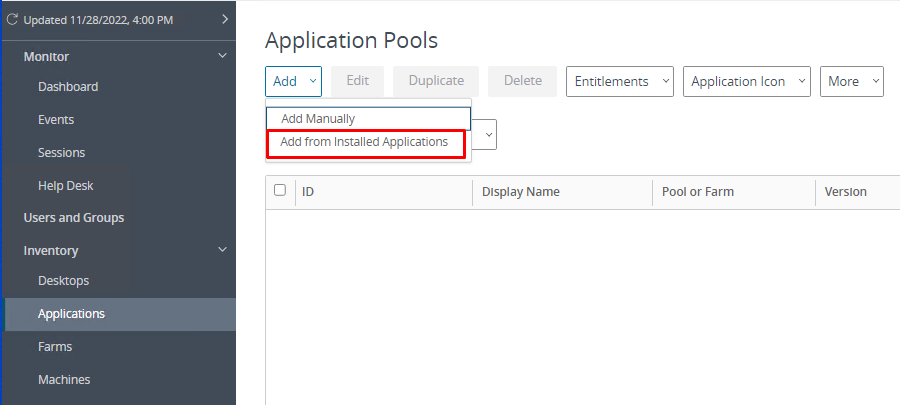
1- Published applications are application pools that run on a farm of RDS hosts. They provide seamless application access to many users by running these applications on servers rather than on their personal computers. To publish the applications, navigate to Inventory, Applications, click Add and then select Add from Installed Applications.
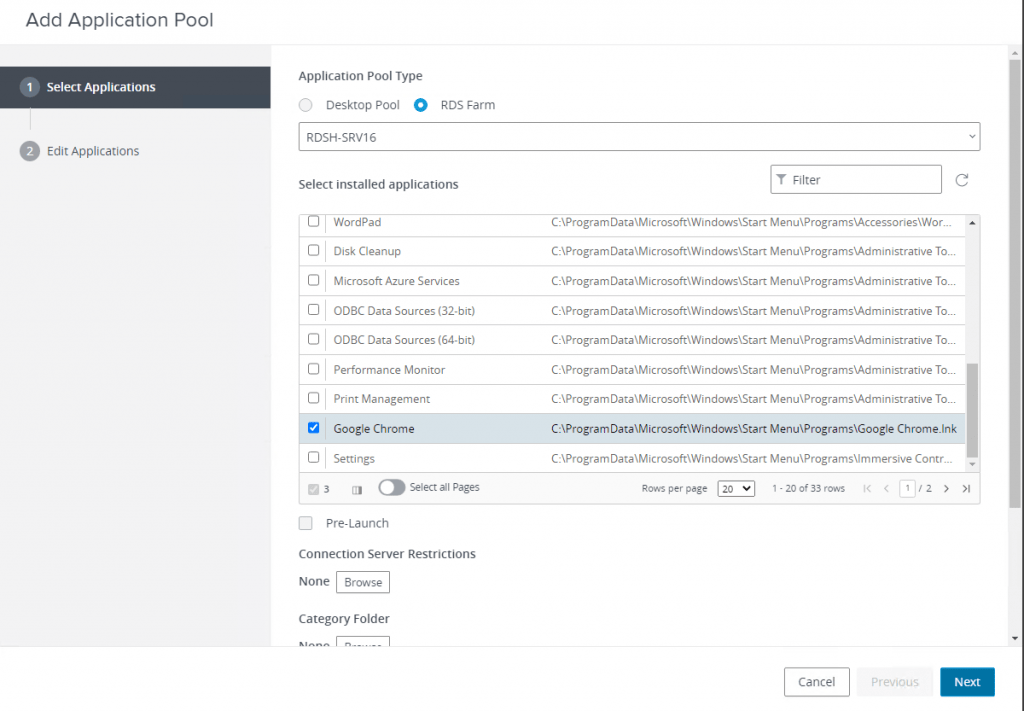
2- On the Select Application page, complete the following fields, and then click Next.
- Application Pool Type, leave the default, which is RDS Farm.
The server farm created in the previous exercise should appear in the drop-down list.
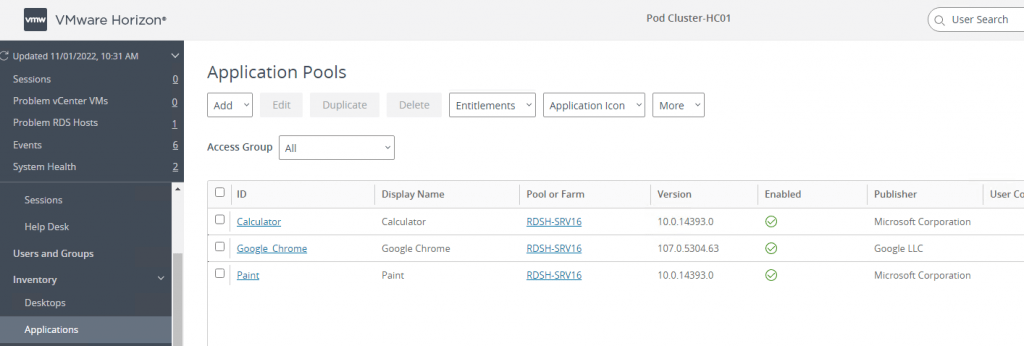
- In the Select installed applications list, select the checkboxes for the desired applications. In this example, I selected Calculator and Paint, and Google Chrome.
A separate application pool will be created for each application you select.
- Leave the other settings as default, and click Next.
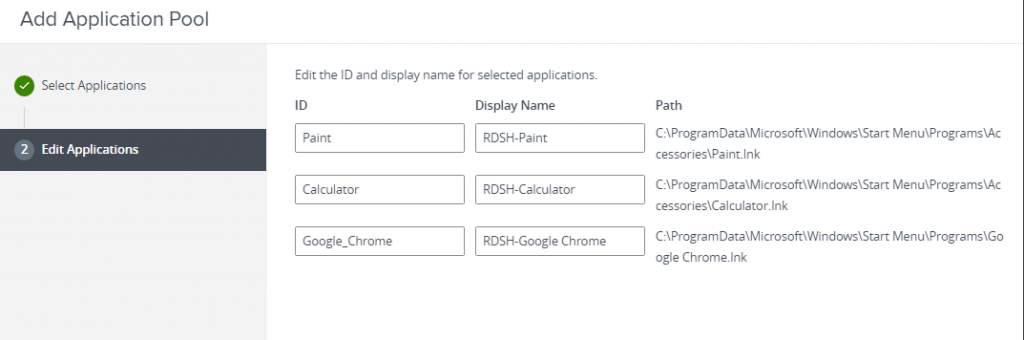
3- On the Edit Applications page, add RDSH- to the beginning of the display name. This way, you can distinguish between the locally installed application and the published application and click Submit.
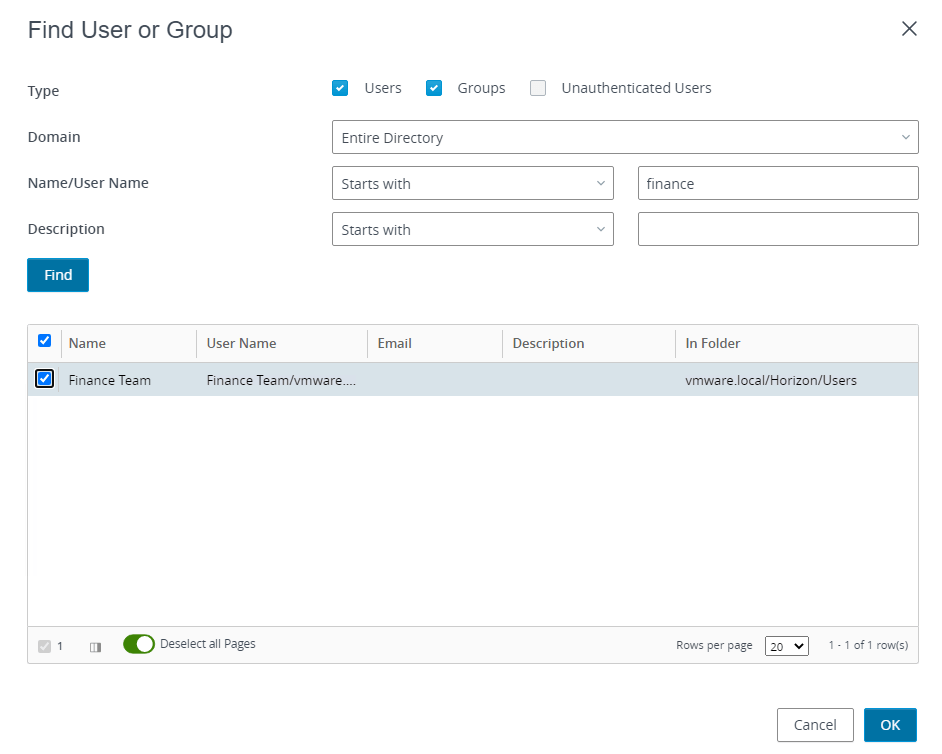
4- A new window will be opened and click Add to select a group that can access these applications.
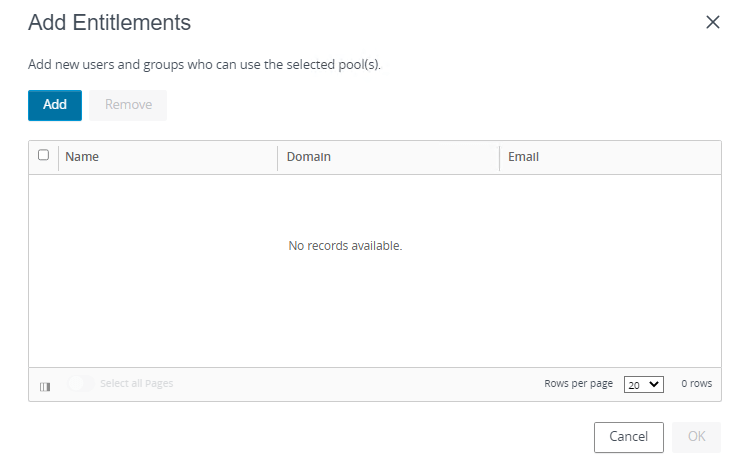
5- Use the Find to search for users or groups and then select the users or groups to entitled, and click OK.
6- Now you can see the published applications in application pools.
Deploy RDS Desktop Pool
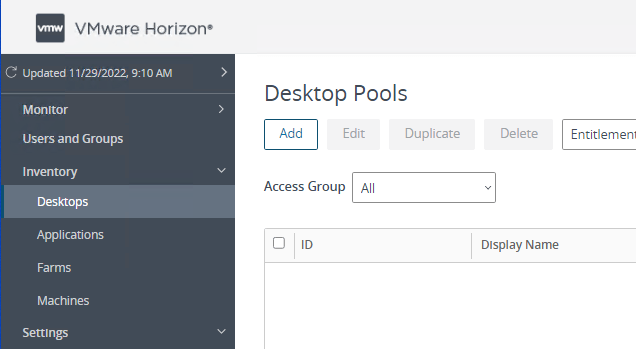
1- Published desktops are desktop pools, which provide users with desktop sessions on RDS hosts. Multiple users can have simultaneous desktop sessions on an RDS host. To publish the desktops, navigate to Inventory, Desktops, and click Add.
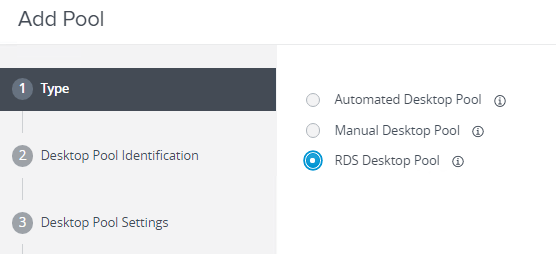
2- Select RDS Desktop Pool, and click Next.
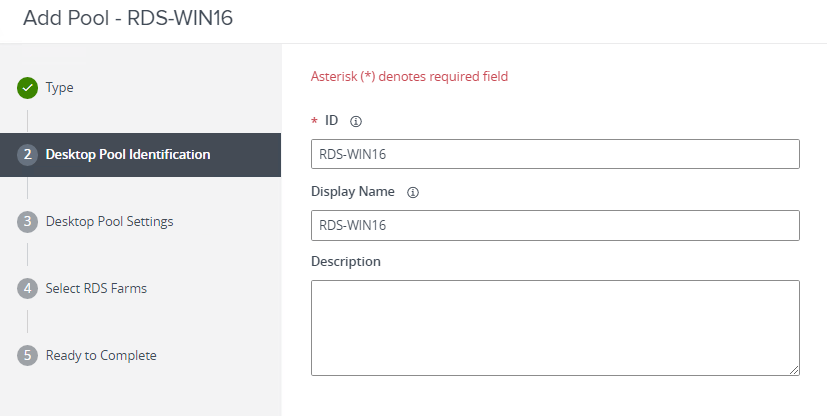
3- On the Desktop Pool Identification page, enter pool ID and a suitable display name and click Next.
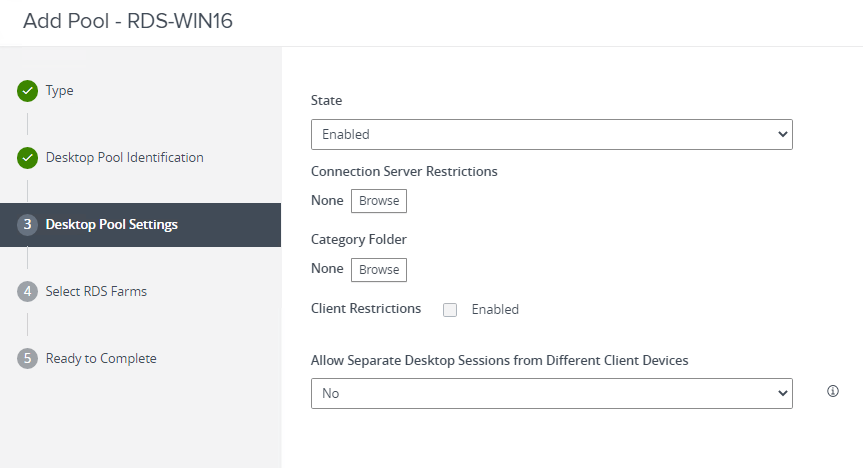
4- On the Desktop Pool Settings page, leave the defaults and click Next.
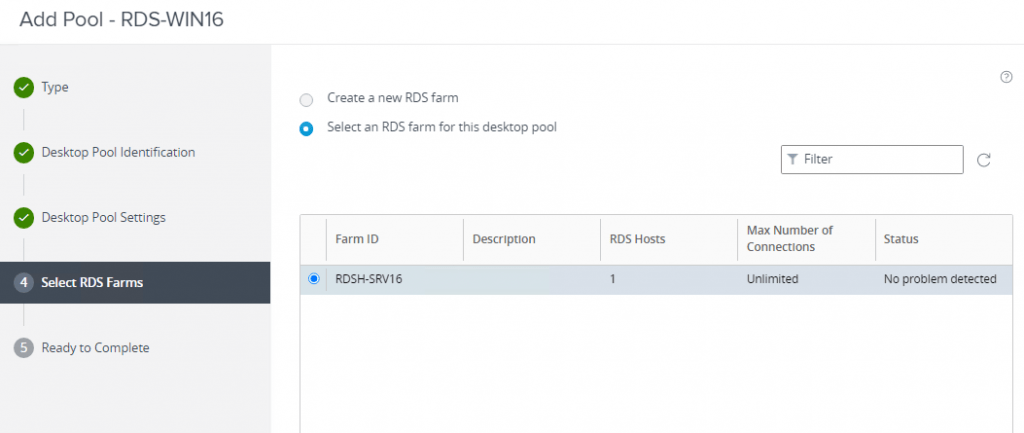
5- On the Select RDS Farms page, I select the previously created RDS farm from the list, but there is an option to create a new RDS farm; Click Next.
5- On the Ready to Complete page, review the configurations and then click Submit.
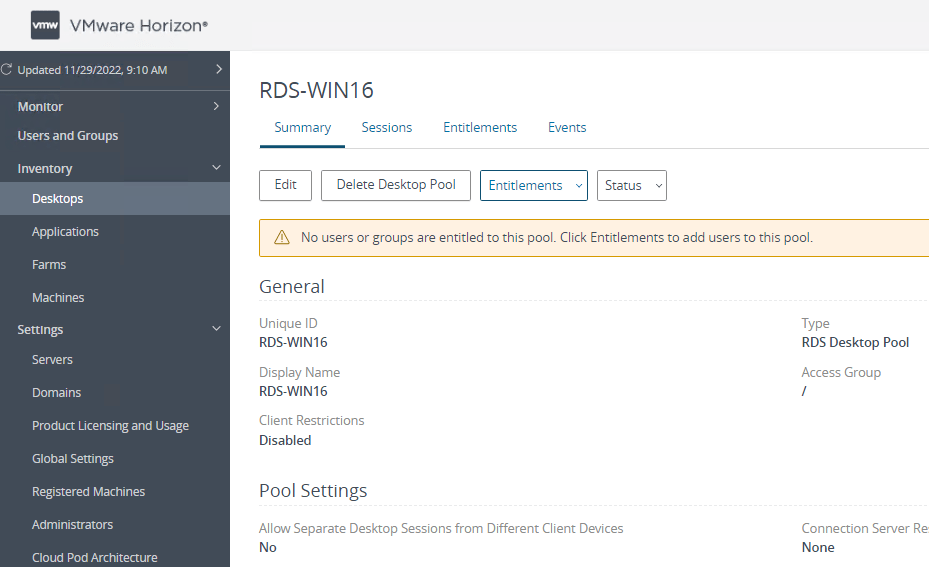
6- When you click on the name of the desktop pool in the list, a warning is displayed that indicates there are no entitlements for this desktop pool.
7- Click the Entitlements and then Add Entitlements.
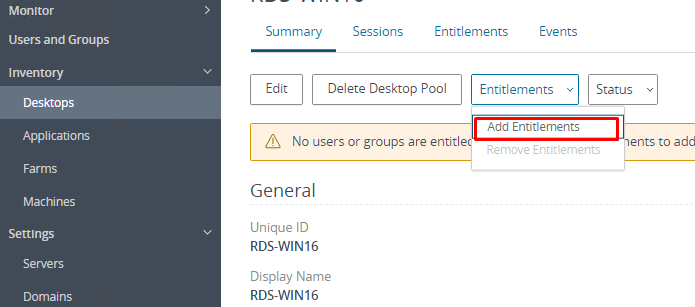
8- Click Add to select a group that can access these desktops.
5- Use the Find to search for users or groups and then select the users or groups to entitled, and click OK.
Validating Desktops and Applications
1- On a client computer where VMware Horizon Client is already installed, launch the program and connect to Horizon Connection Server or use a browser in order to access the HTML version of Horizon Client.
I have explained this procedure step by step in this post
2- Enter the user name and password of a user who is entitled to the desktop or published applications, and click Login.
3- You will see a list of published desktops and applications. To launch an application or desktop, double-click on it.
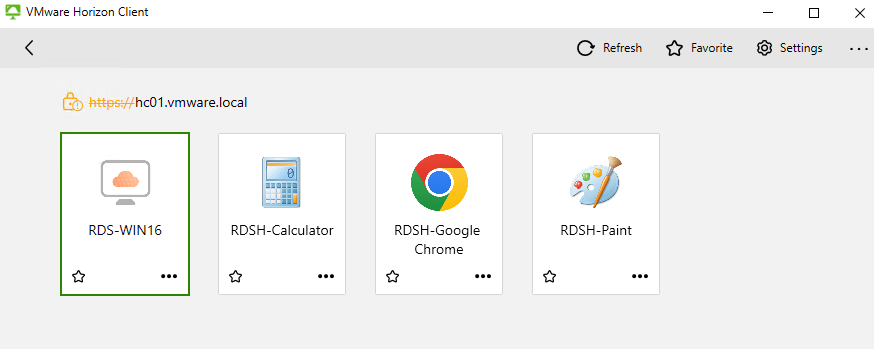
I hope this is informative for you. If you have any questions, please do not hesitate to contact me.